Categories
Cakes

Purple Sweet Potato Butter Cake

Butter cake is one of my favourites but I don’t bake them as frequently compared to chiffon cakes as the former are quite laden with calories. So butter cakes are once in a while treat for me. I have made this cake a few years back and its really delicious. I bought some purple sweet potato and would like to bake this again. I am setting aside some sweet potato to bake a bread. So stay tuned for that.

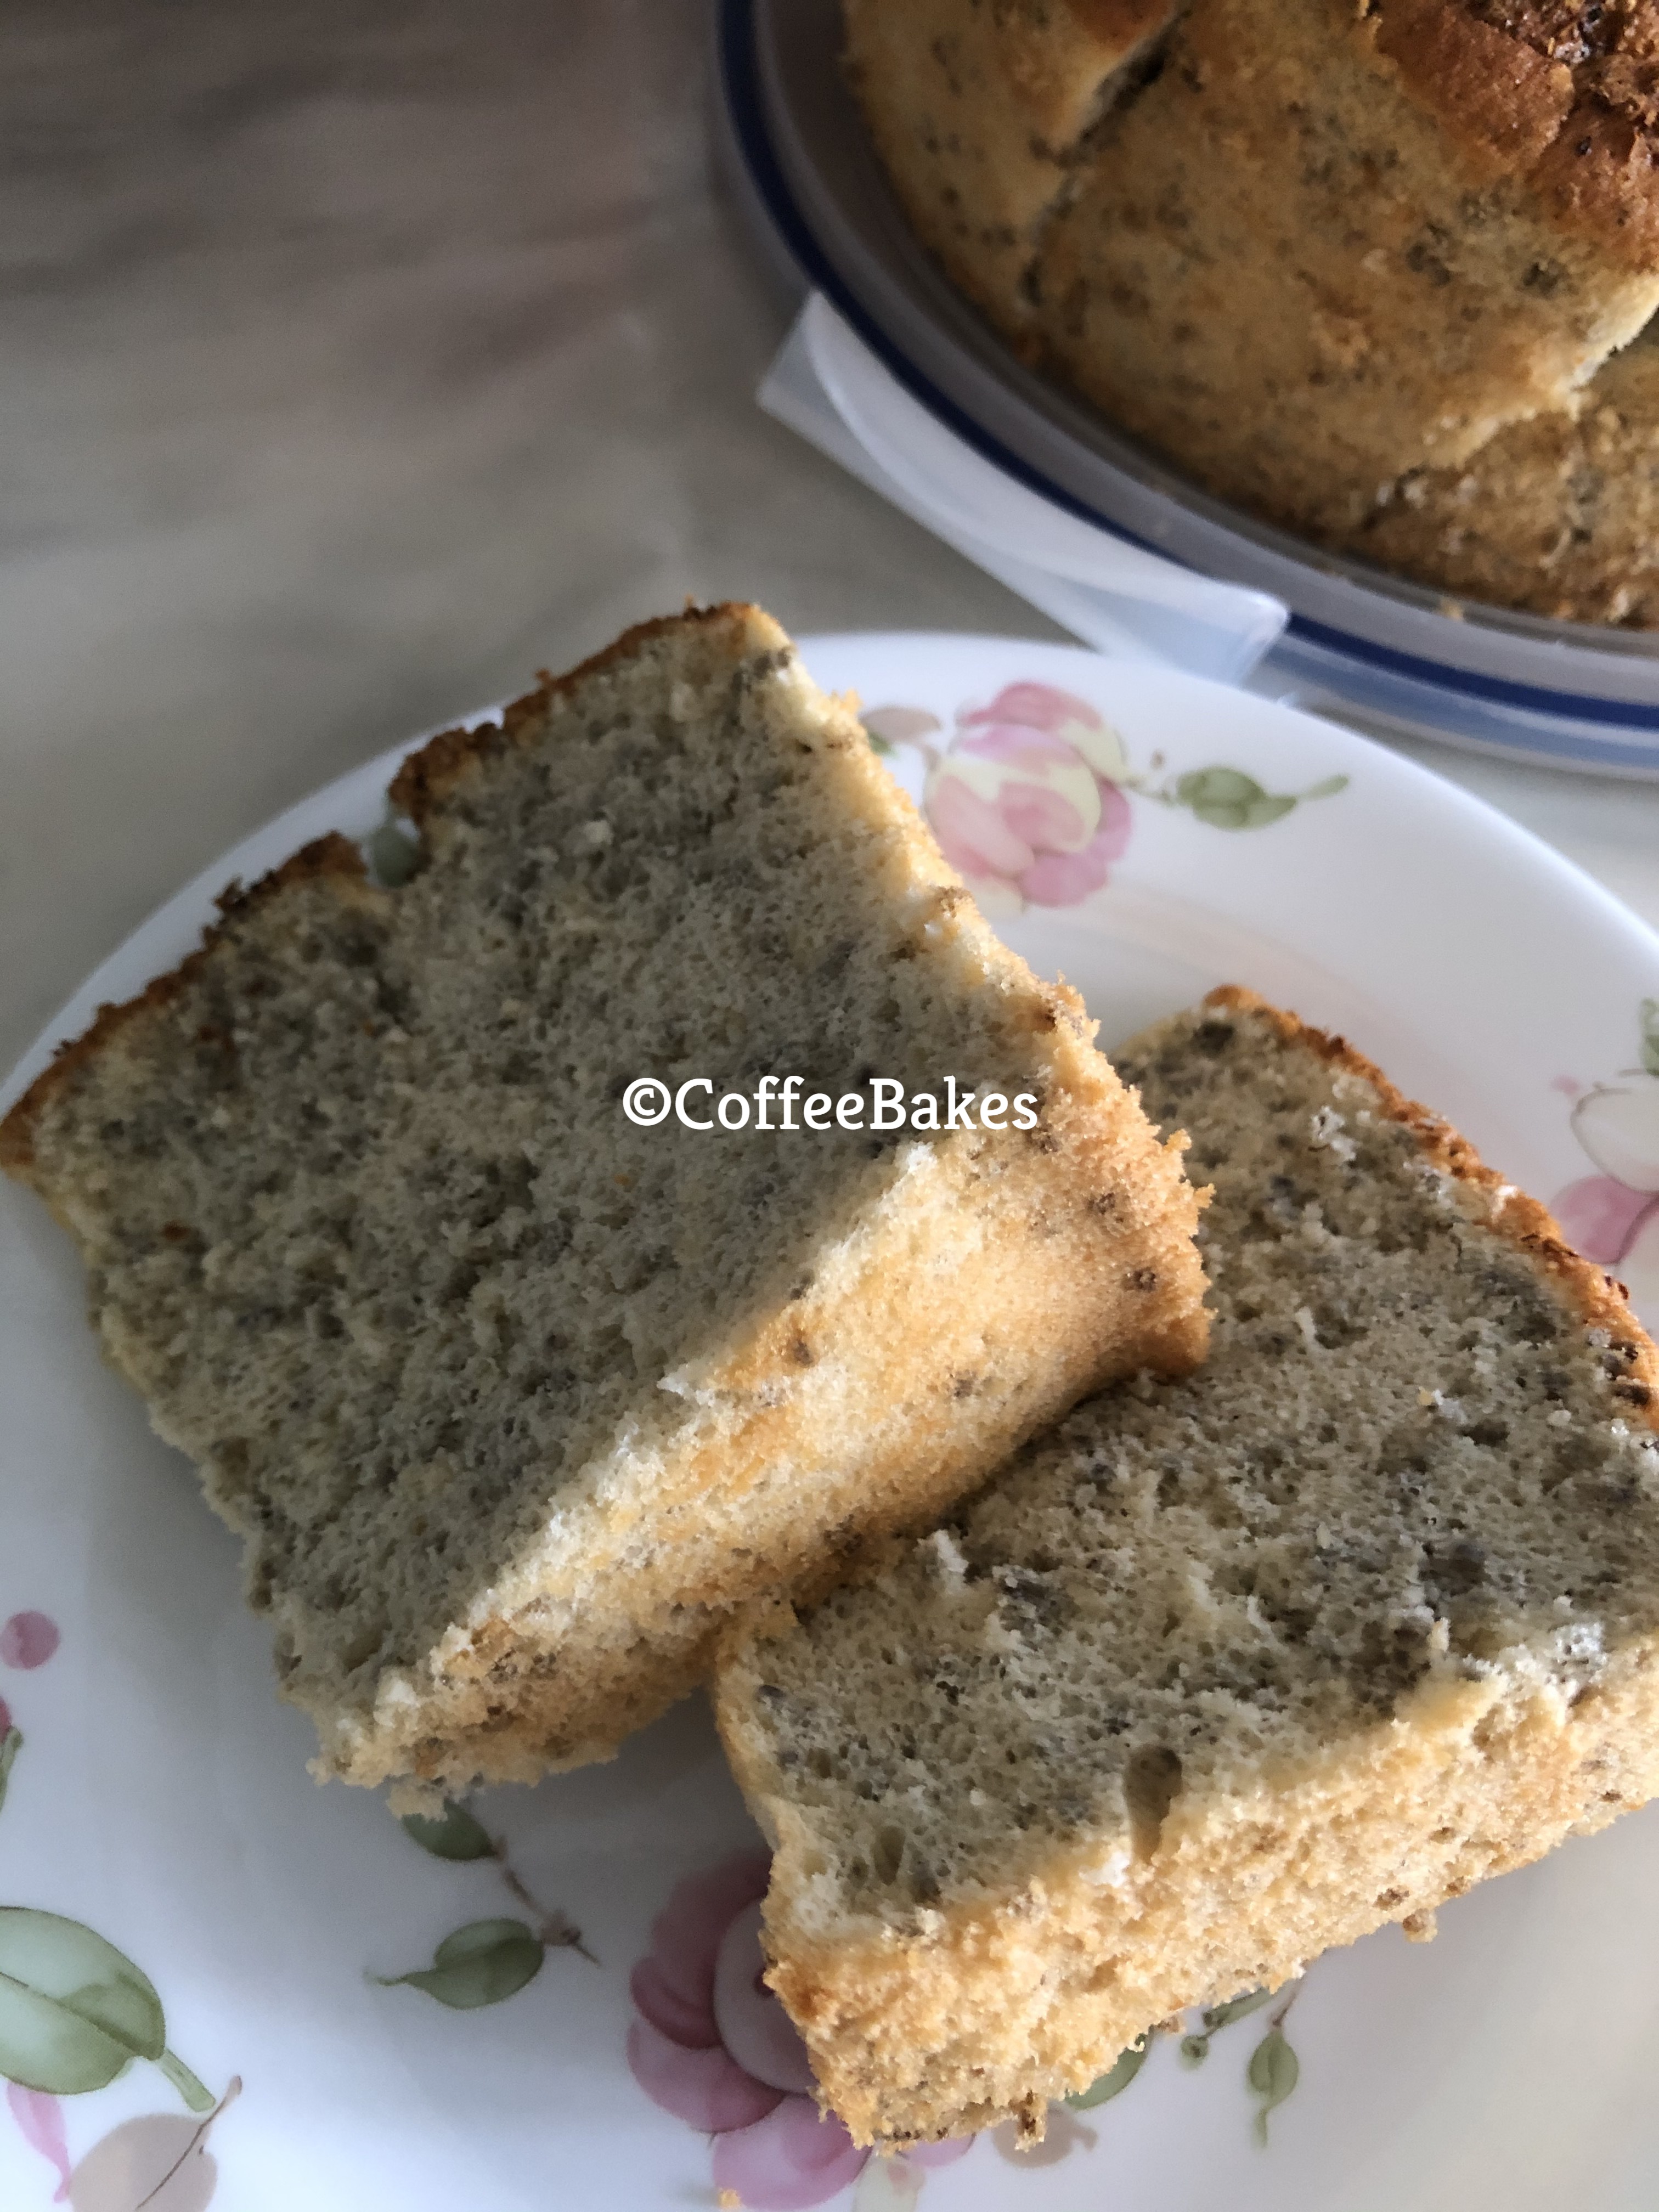
This cake didn’t quite yield the same texture and taste when I baked this in 2015. It had a more kueh like texture this time. I suspect I accidentally added more liquid then I should.

Ingredients (adapted from lykitchenventure.blogspot.com)

200g salted butter
85g sugar
4 egg yolks
1 tsp vanilla extract
200g self raising flour
80g milk
150g mashed purple sweet potato
1 tbsp lemon juice
4 egg whites
50g sugar

Stream and mash the purple sweet potato. Mix the 80g milk and lemon and set aside. The acidity from the lemon will help the colour to stay vibrant after baked.

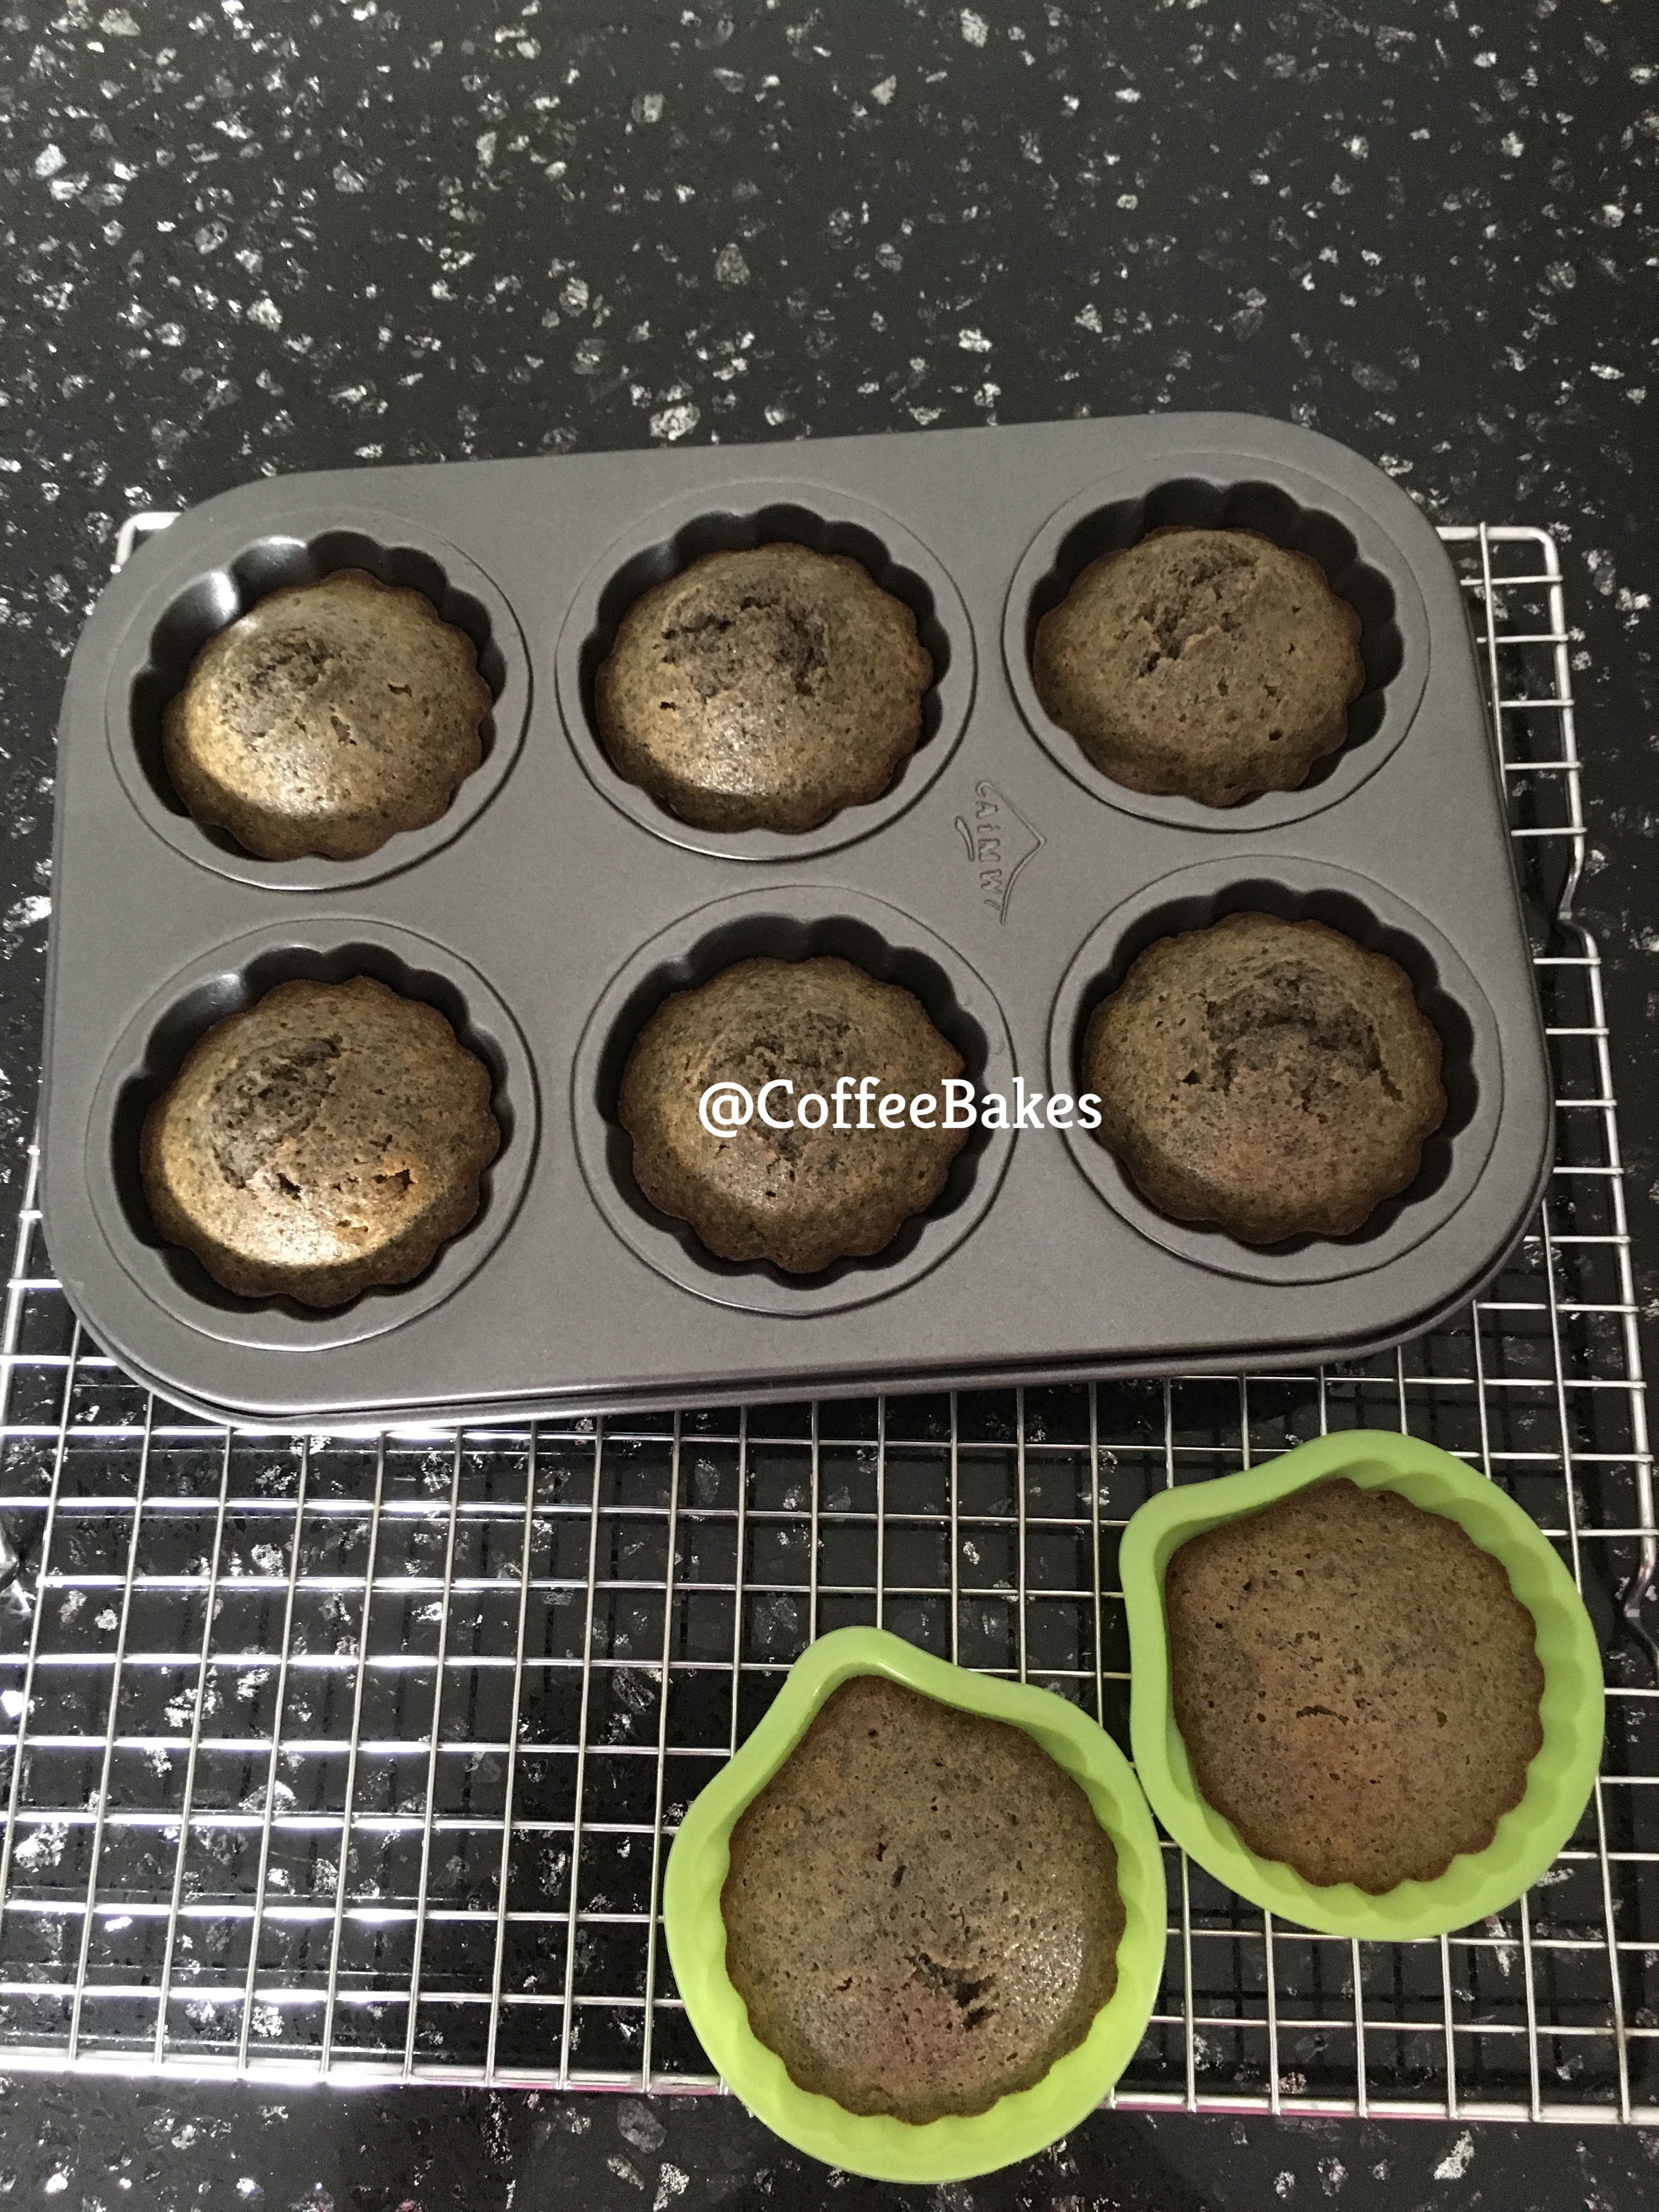
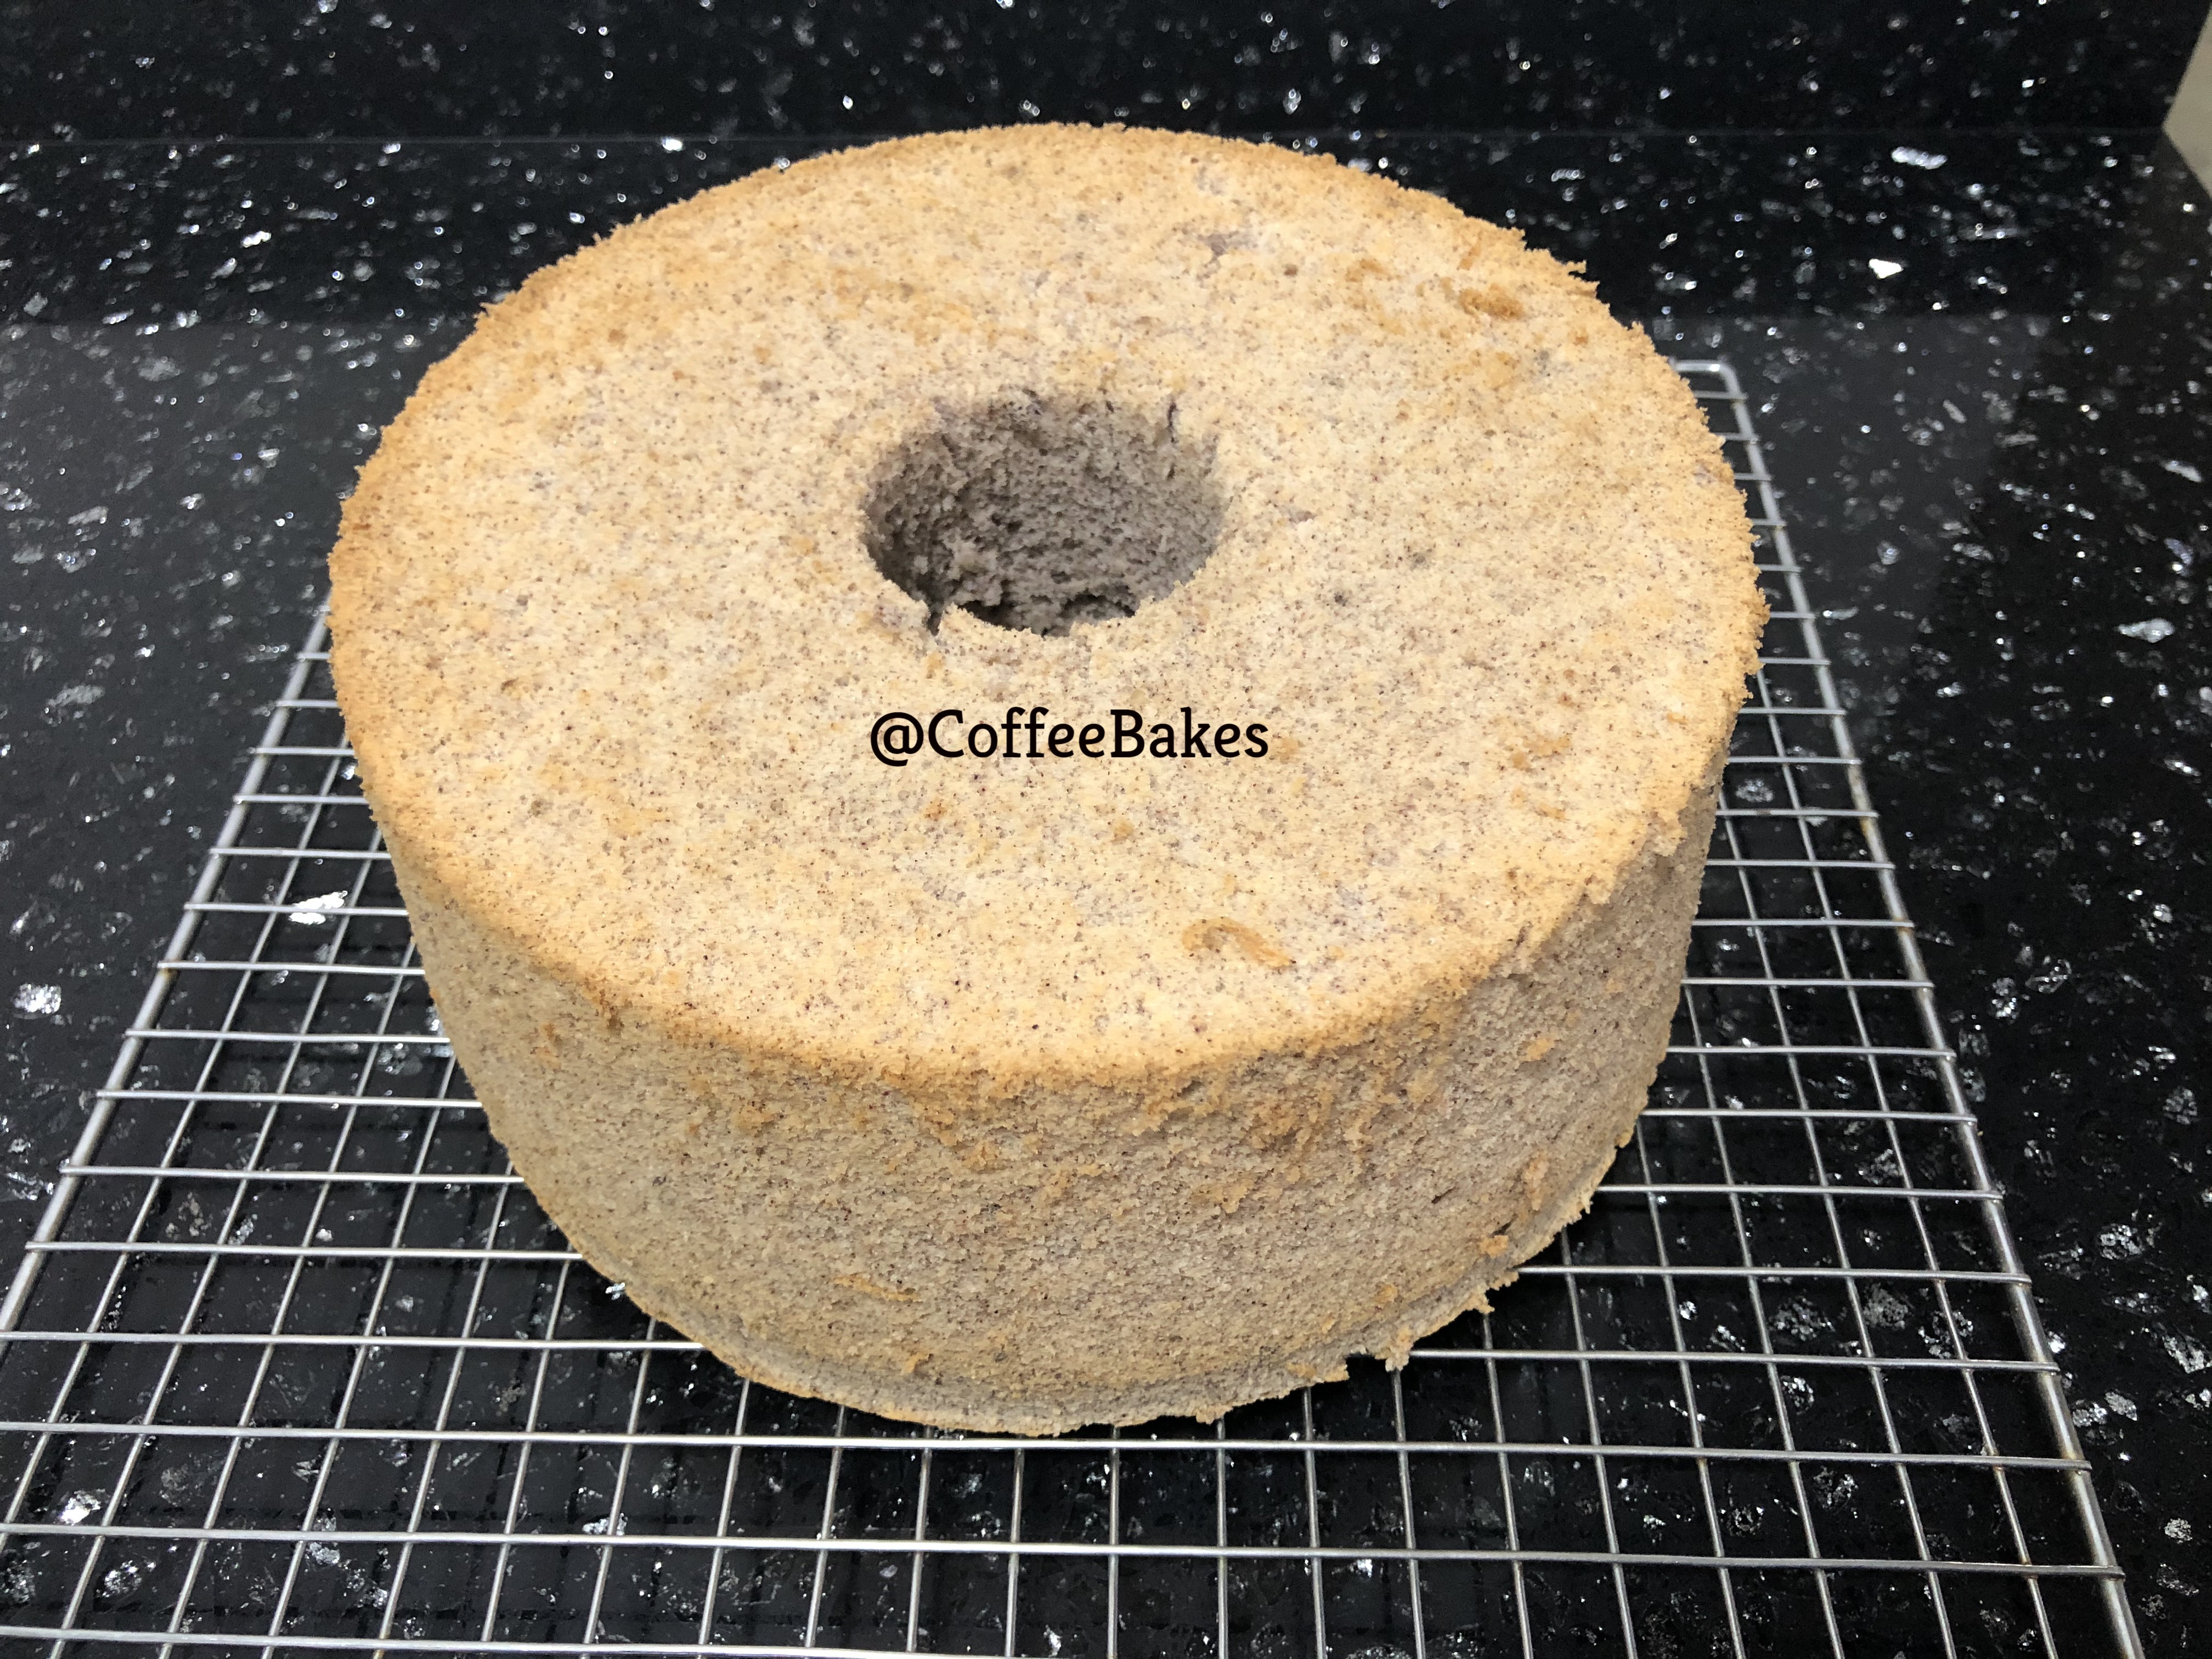
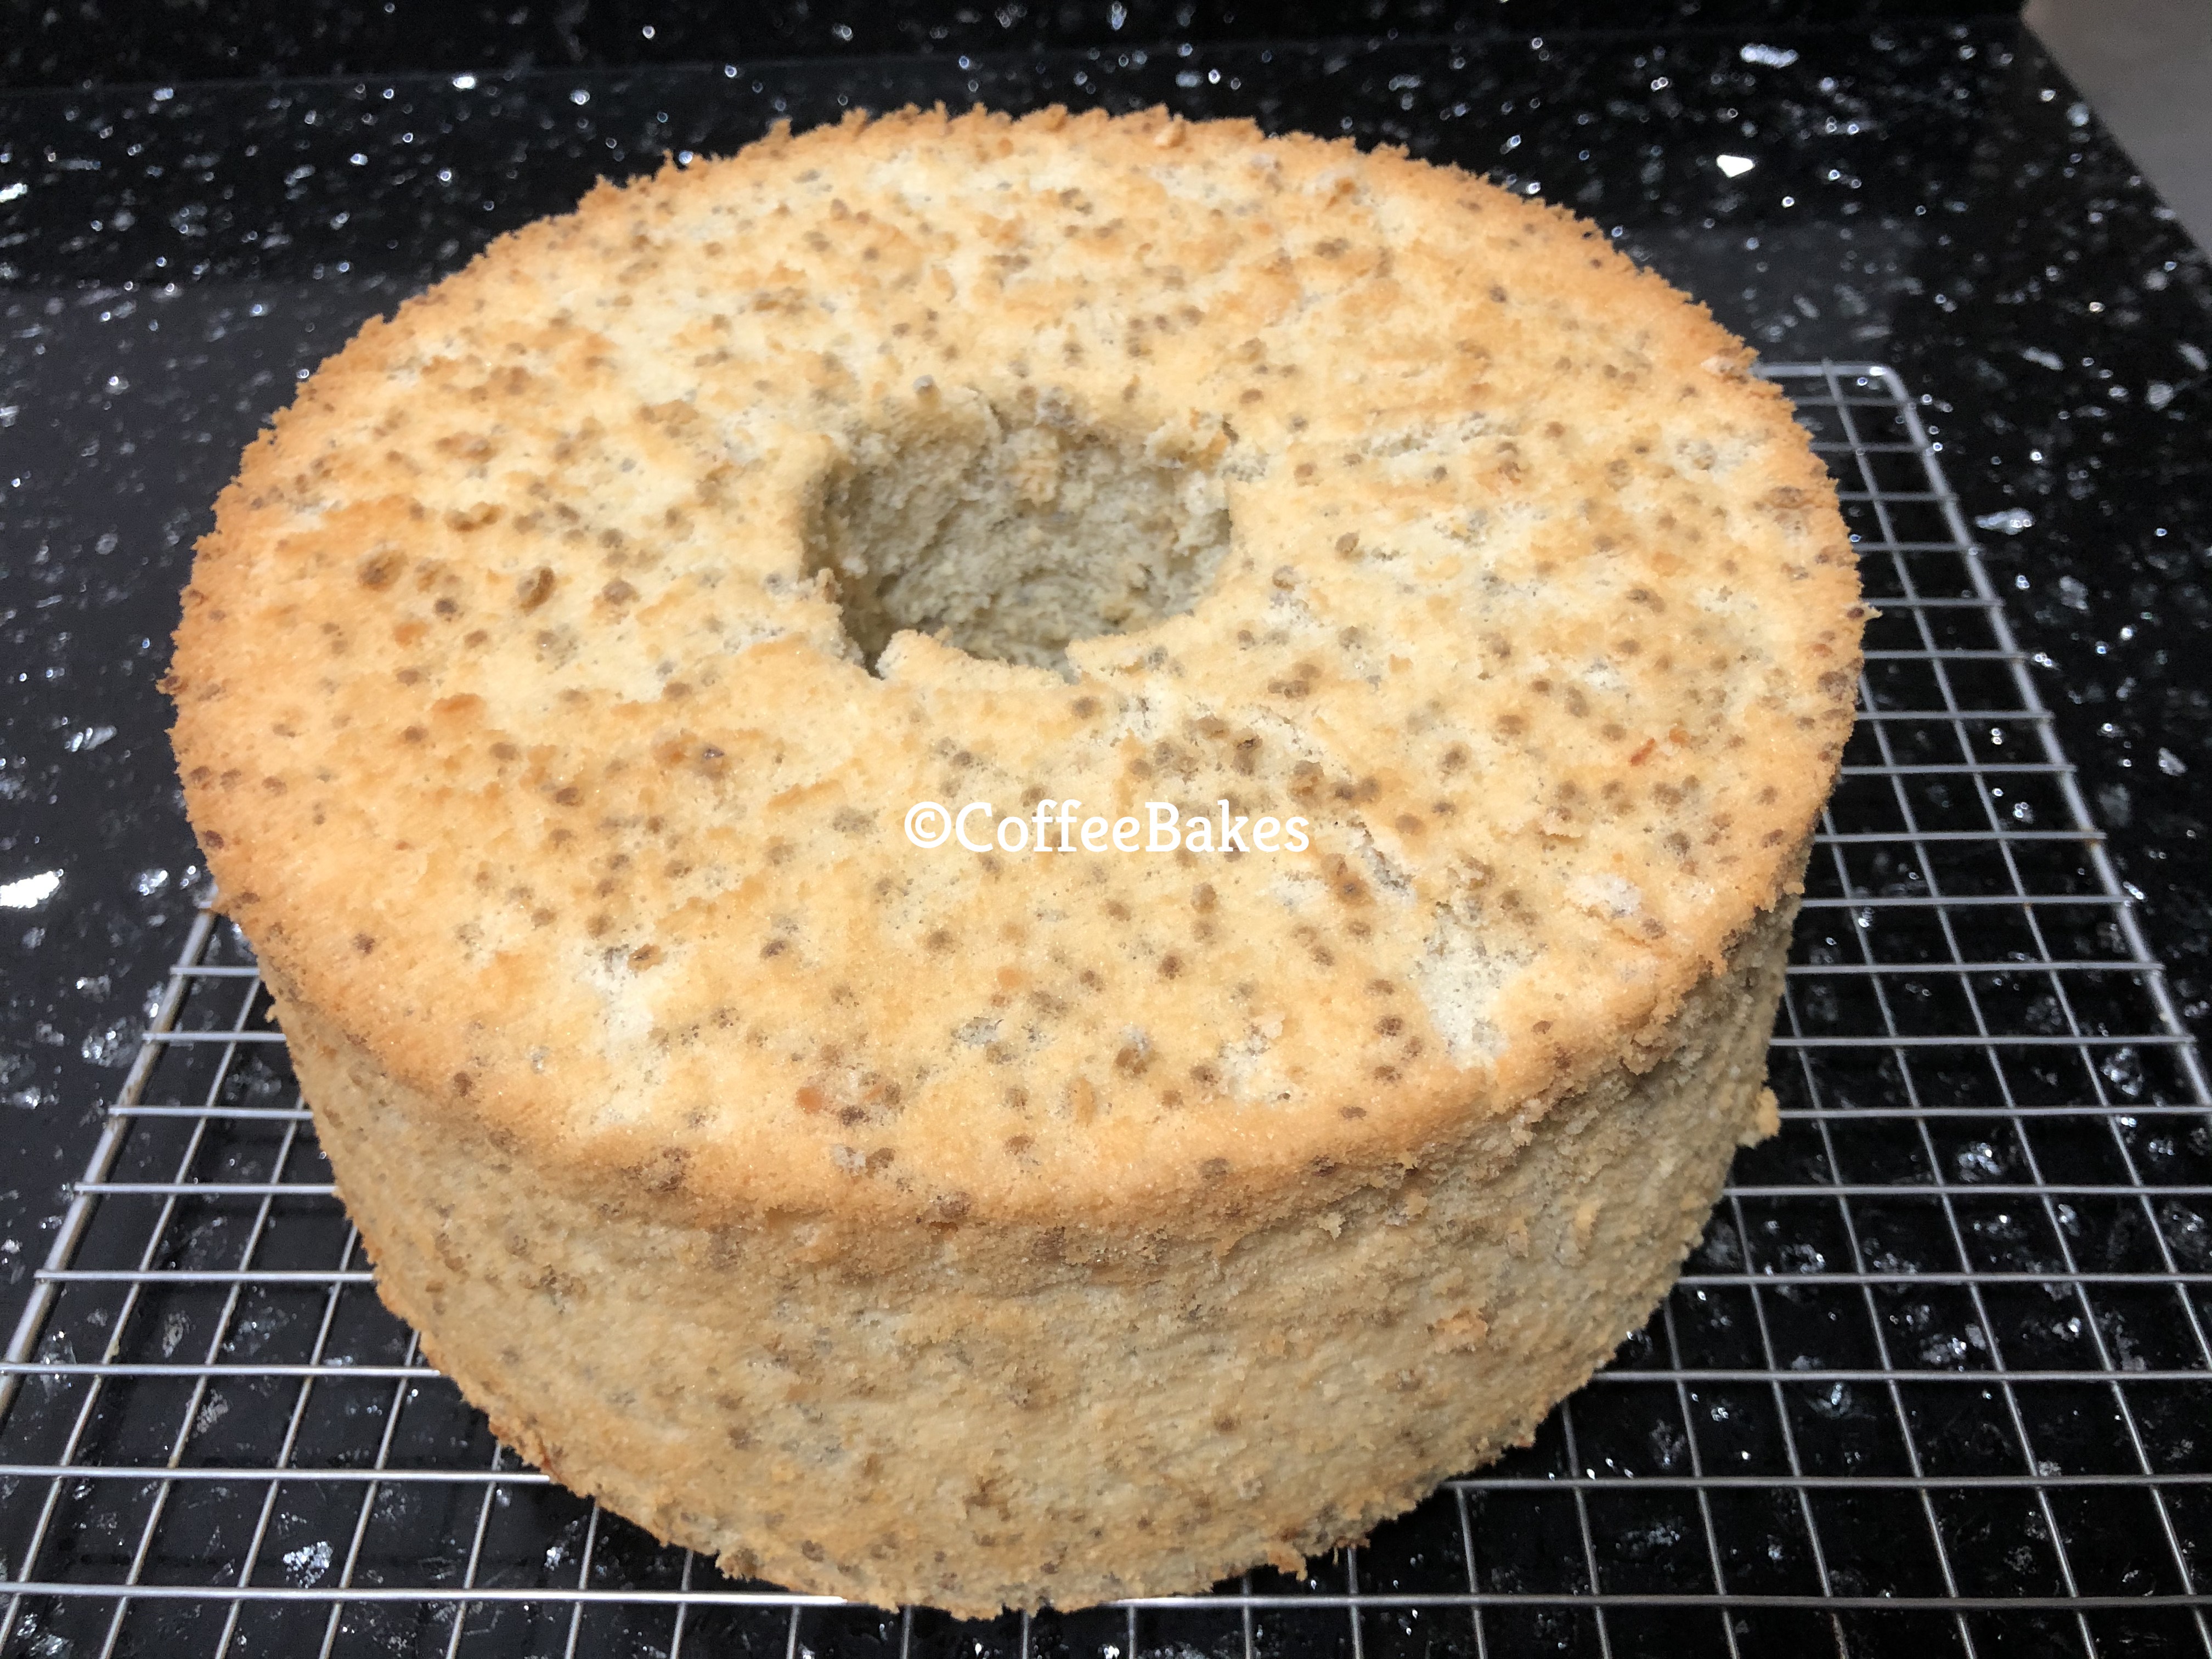
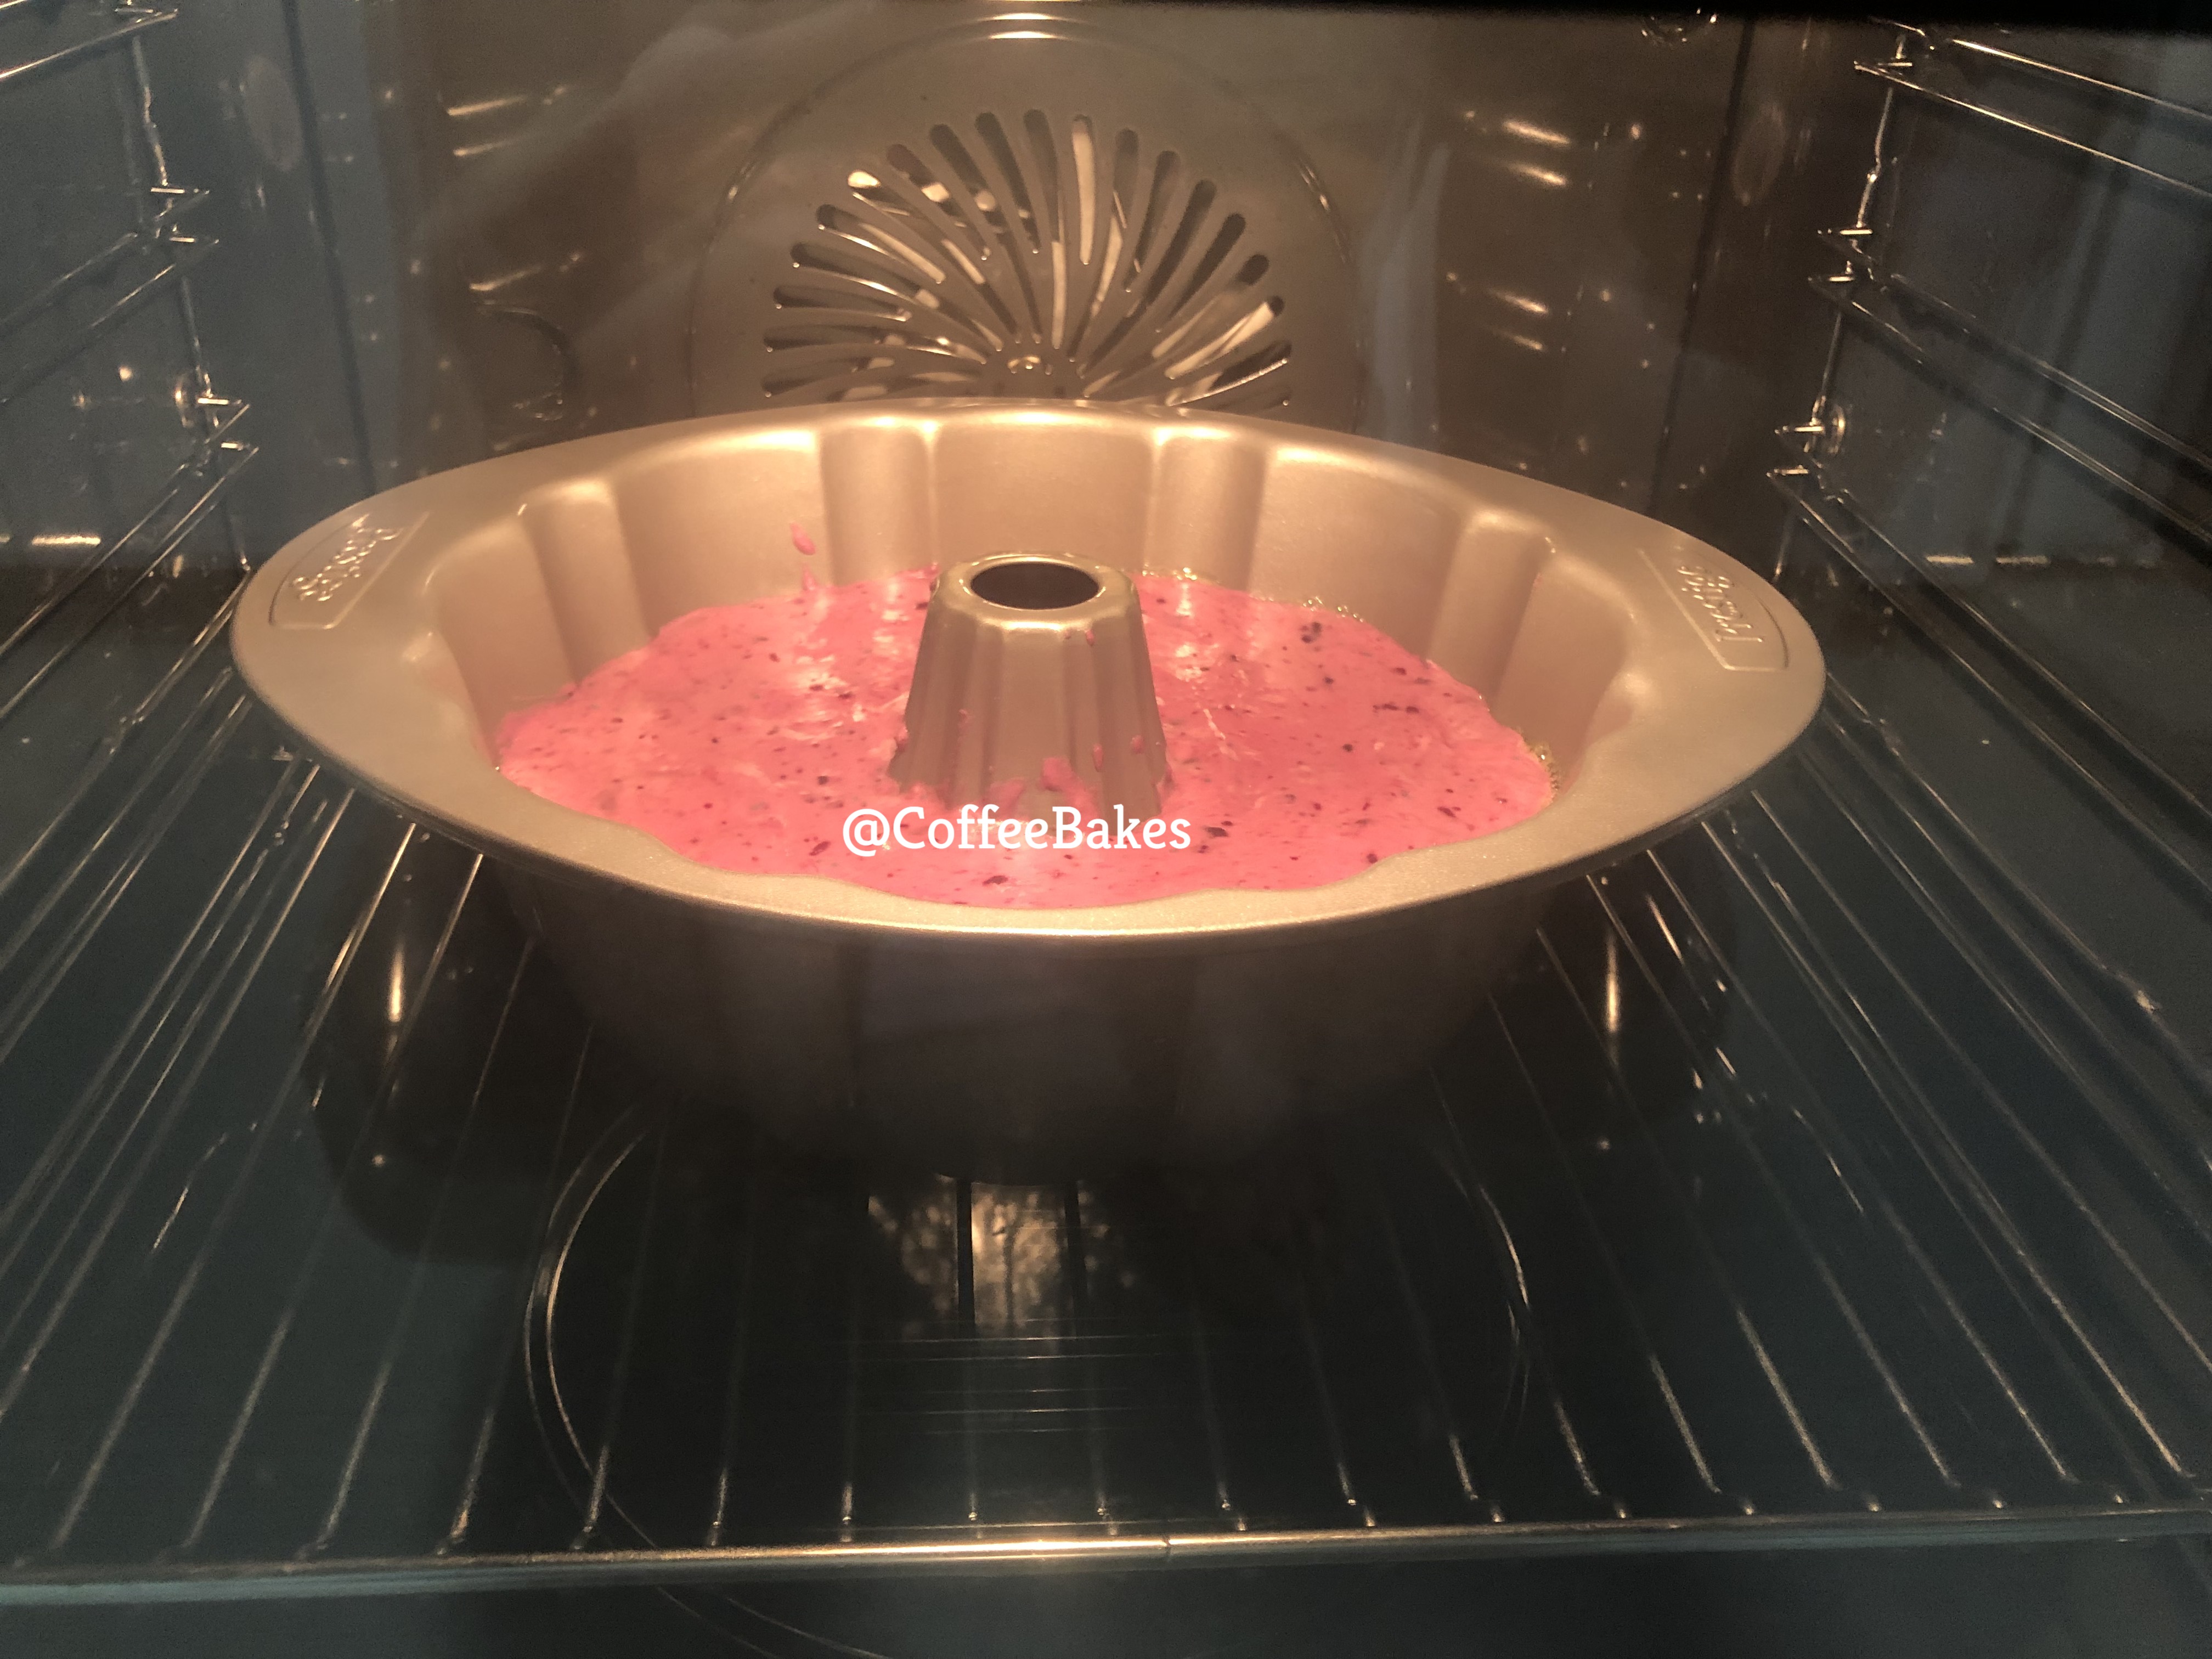
Pre-heat the oven to 160d. Line the base of a 8 inch square pan and grease the sides of the pan. I decided to use a bundt mould to bake this. The bundt needs to be well greased also, you don’t want the cake to break during unmoulding.

Cream butter and sugar until fluffy. Add in the one egg yolk and cream till well blended before you continue with another yolk. Add in the prepared sweet potato mixture and mix well. Add in the sifted flour and mix well.

In another clean bowl, whisk the egg whites until frothy. Add in the 50g sugar and continue to whisk till stiff peak.

Fold in 1/2 of the meringue and mix well before adding the balance 1/2.

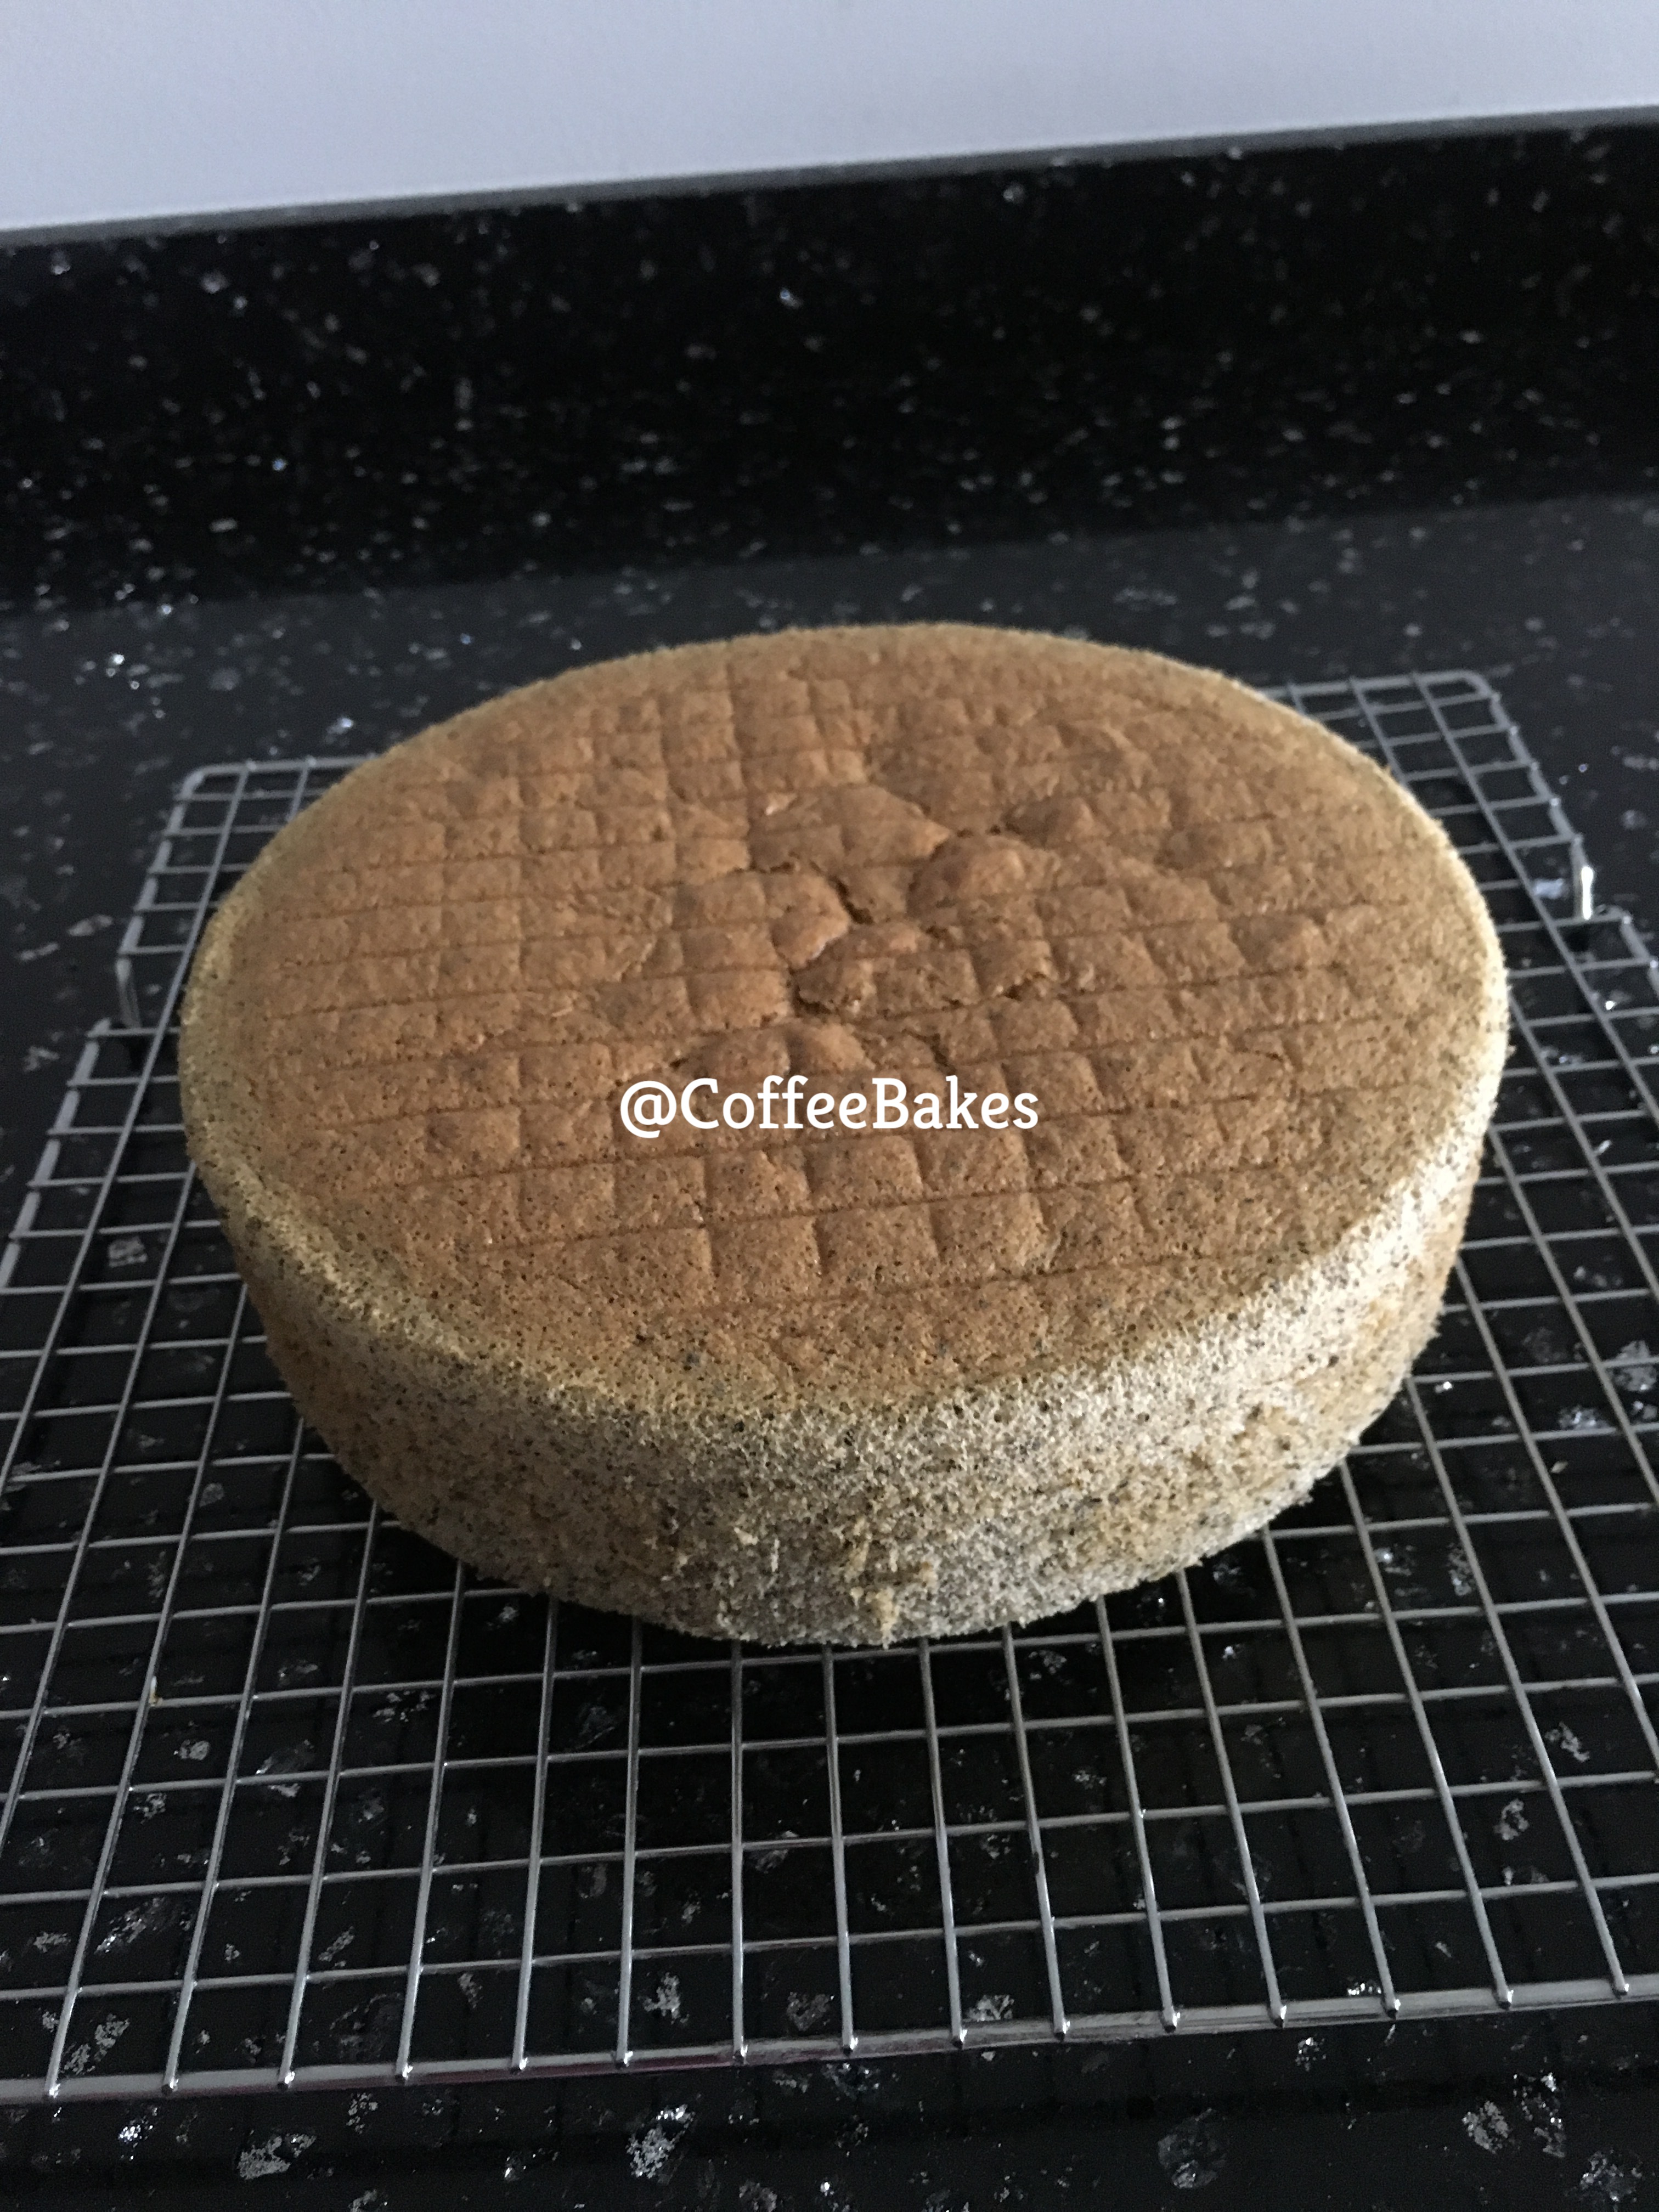
Bake in the over for 45mins to 50mins or until cooked. Test to see if the skewer comes out clean. Allow the cake to cool before you unmould.

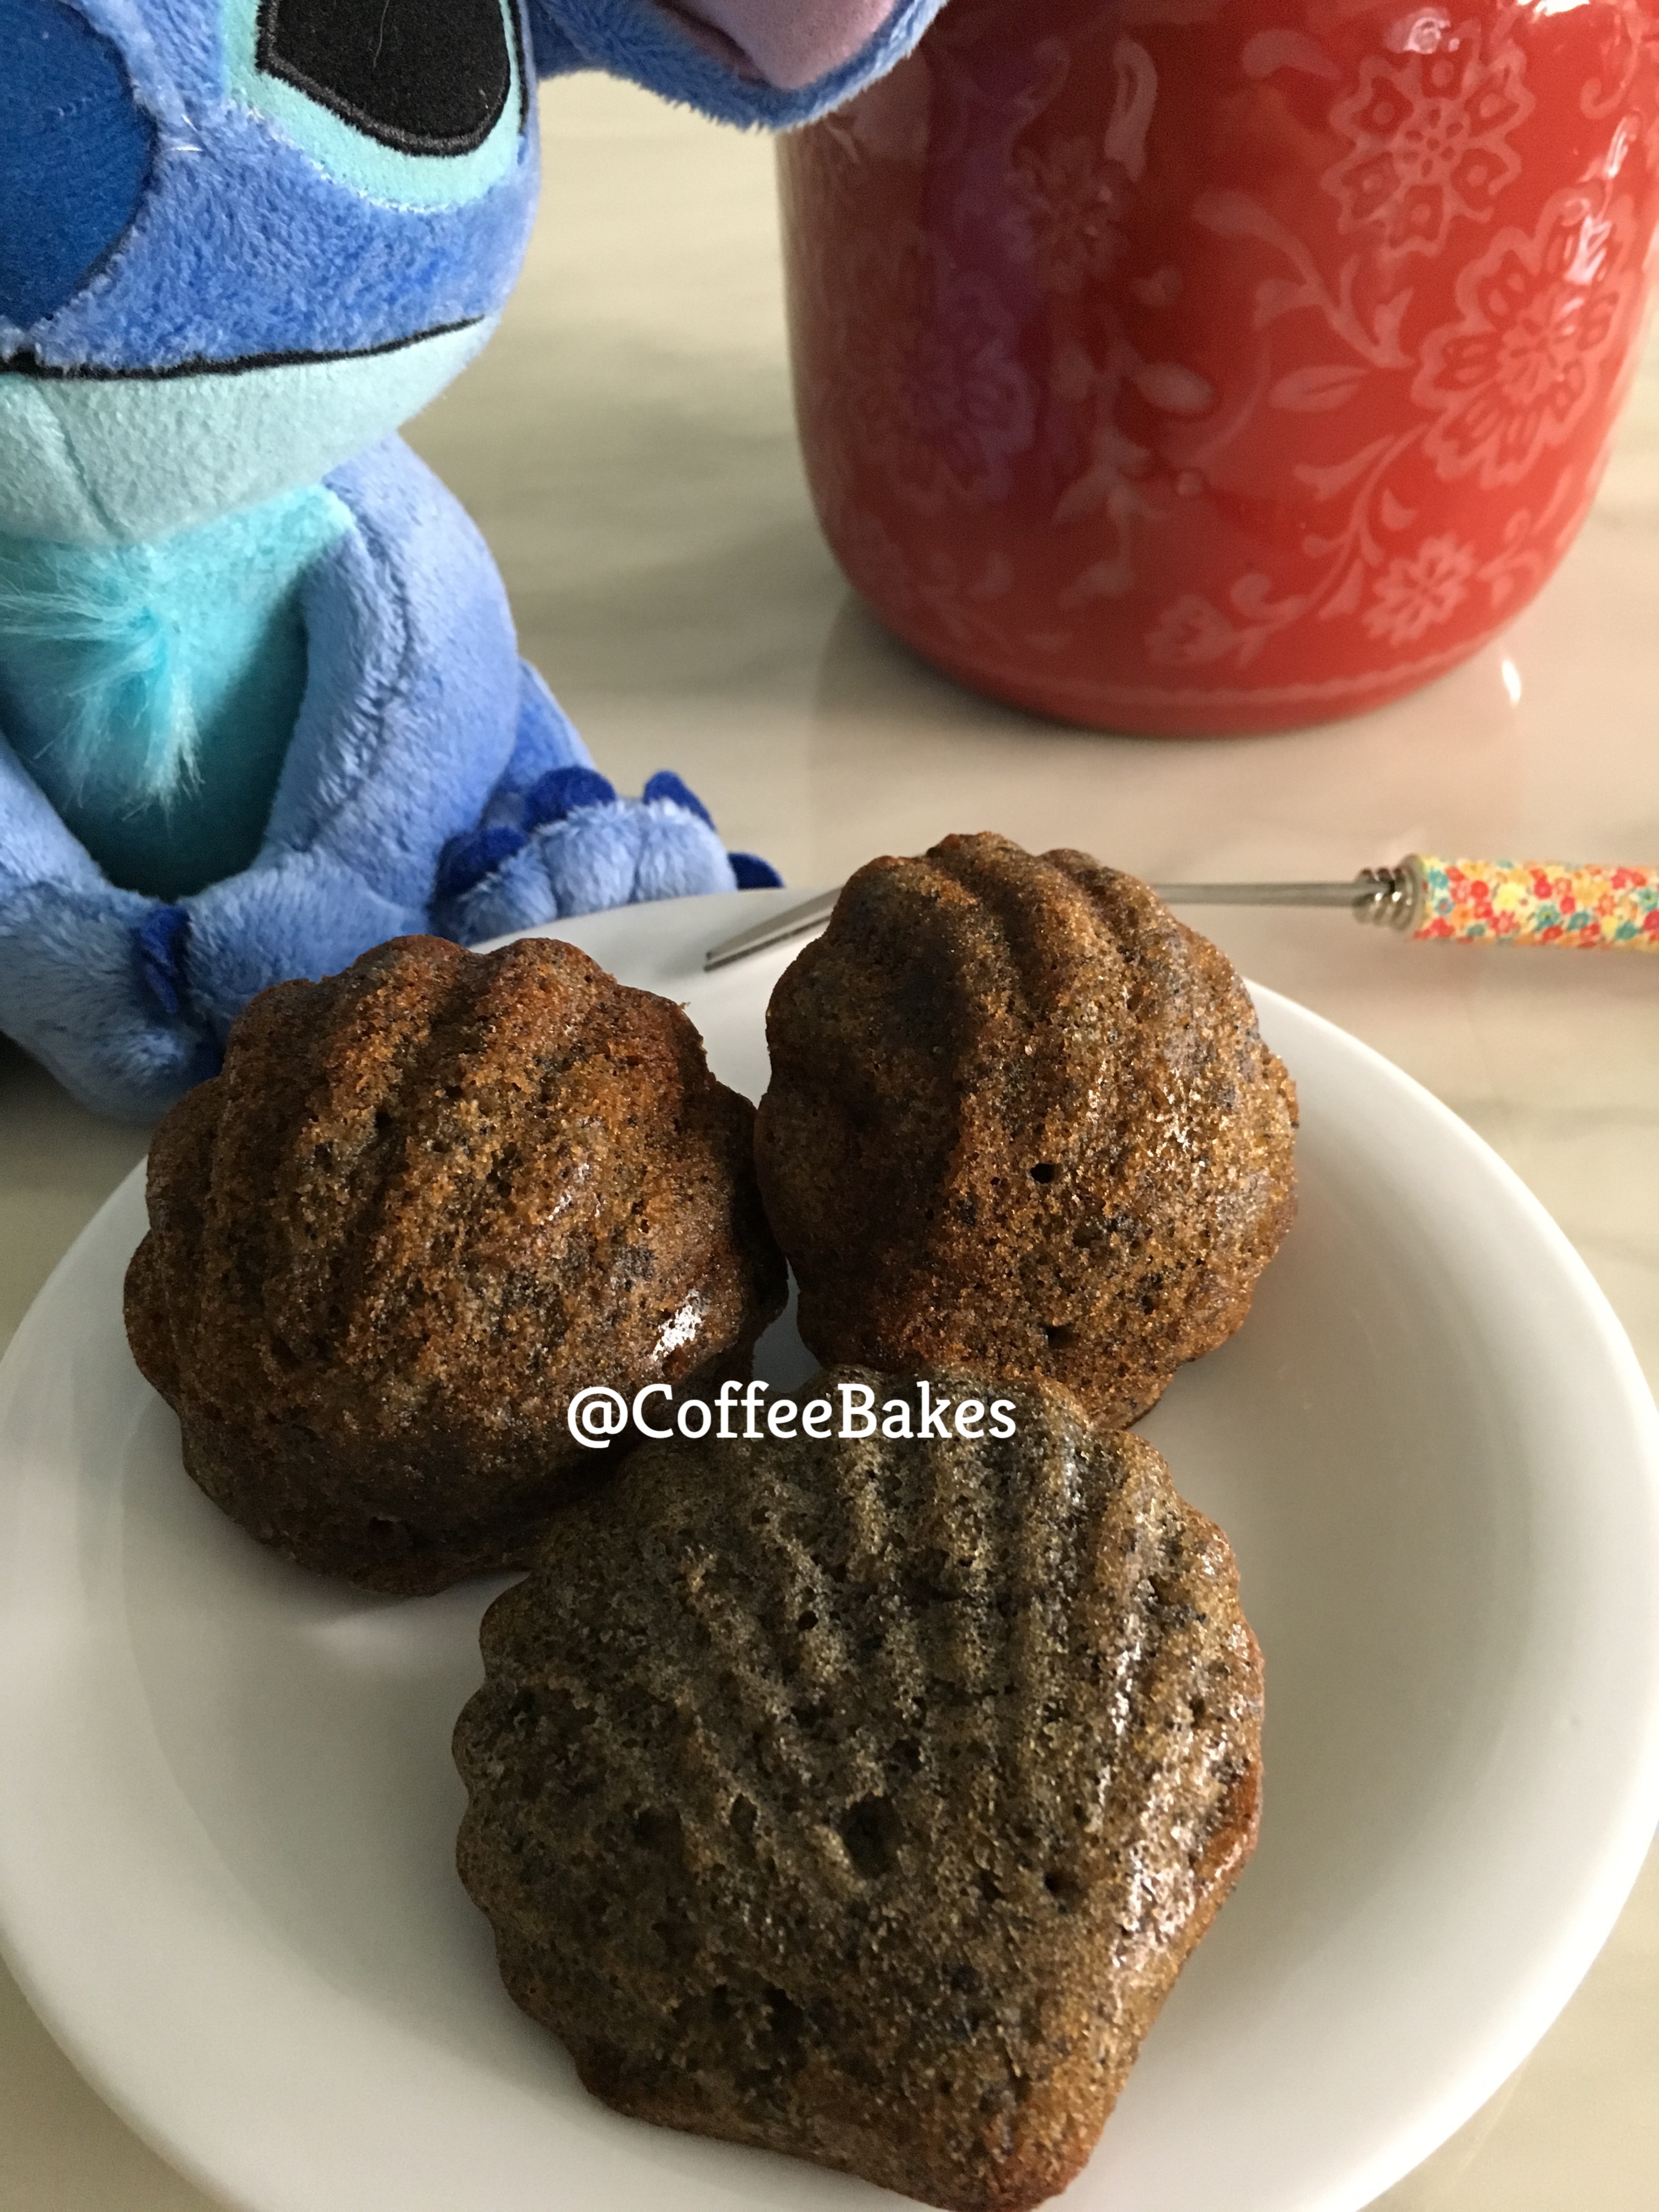
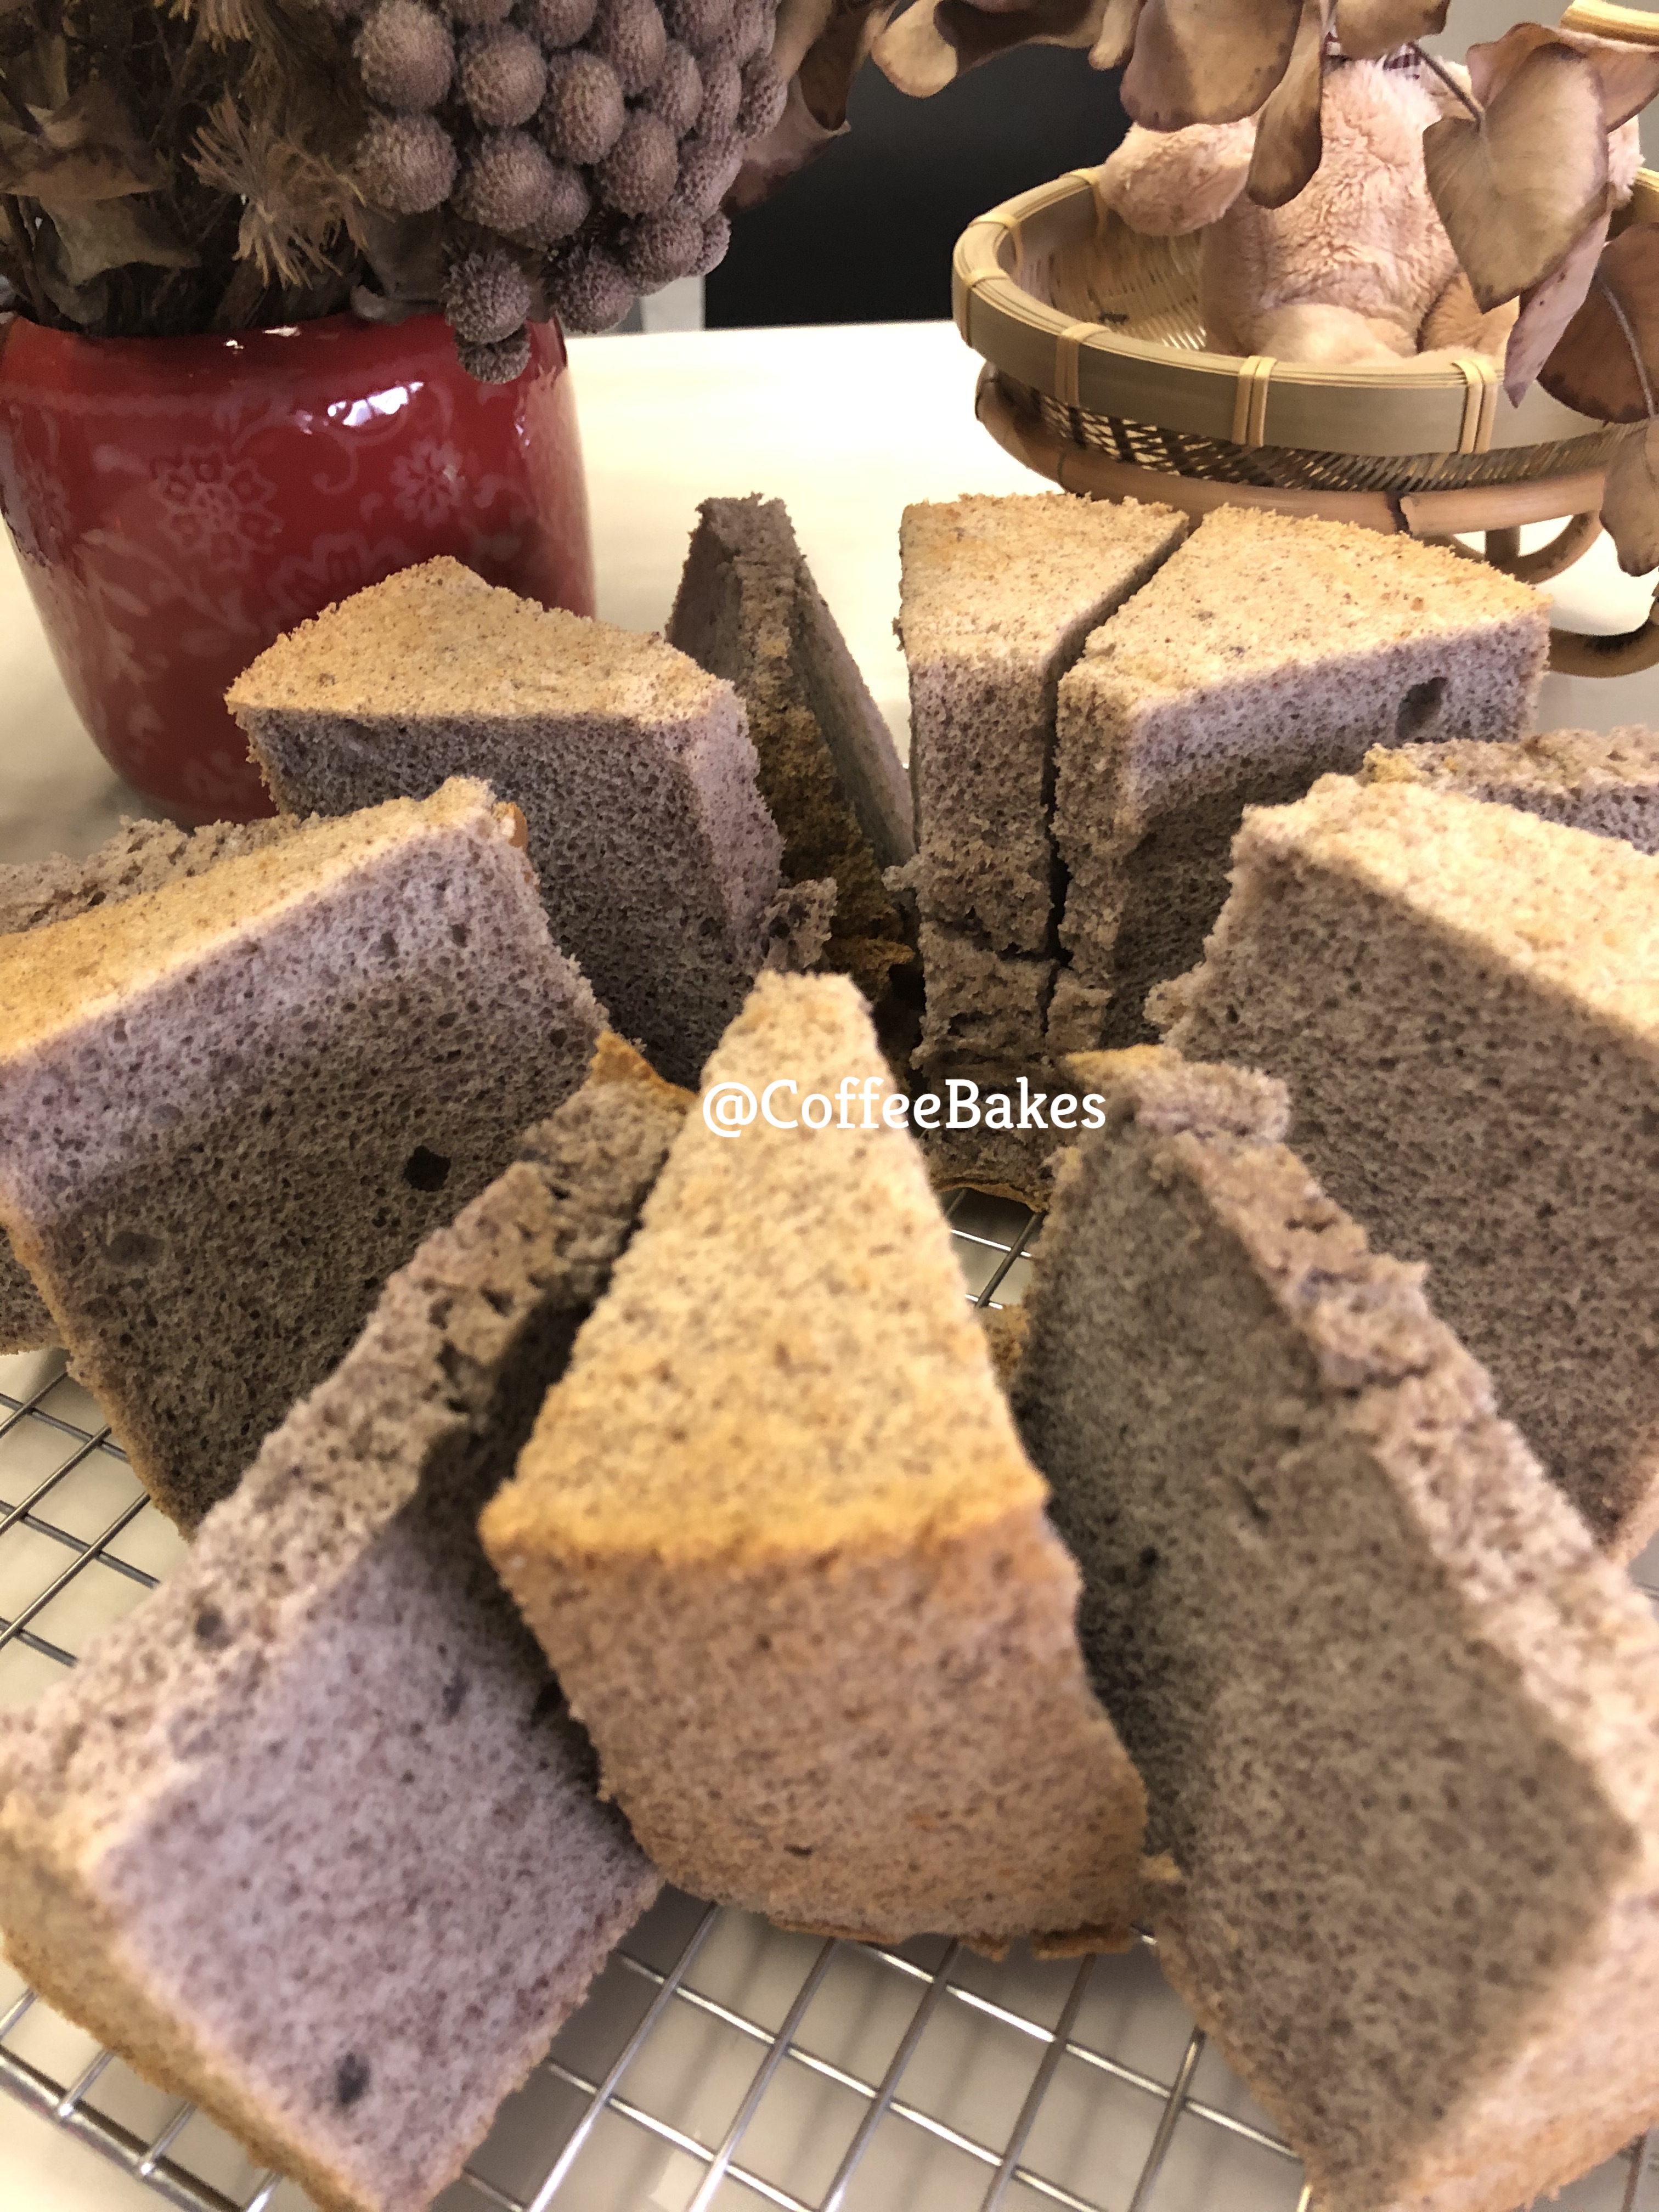
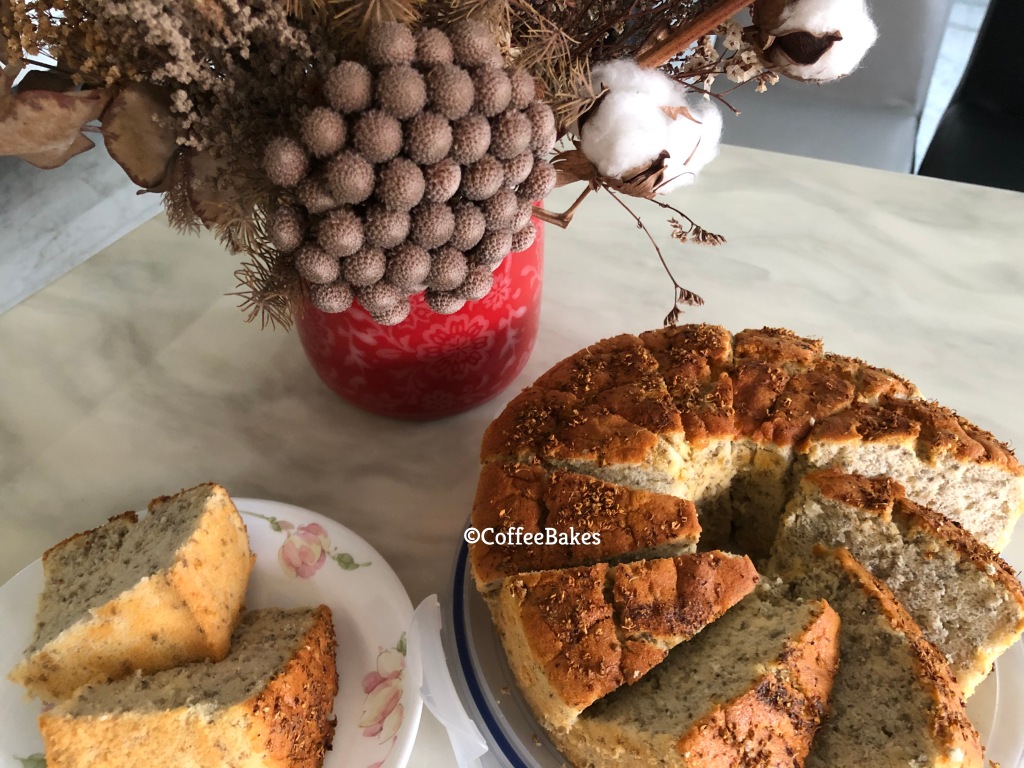
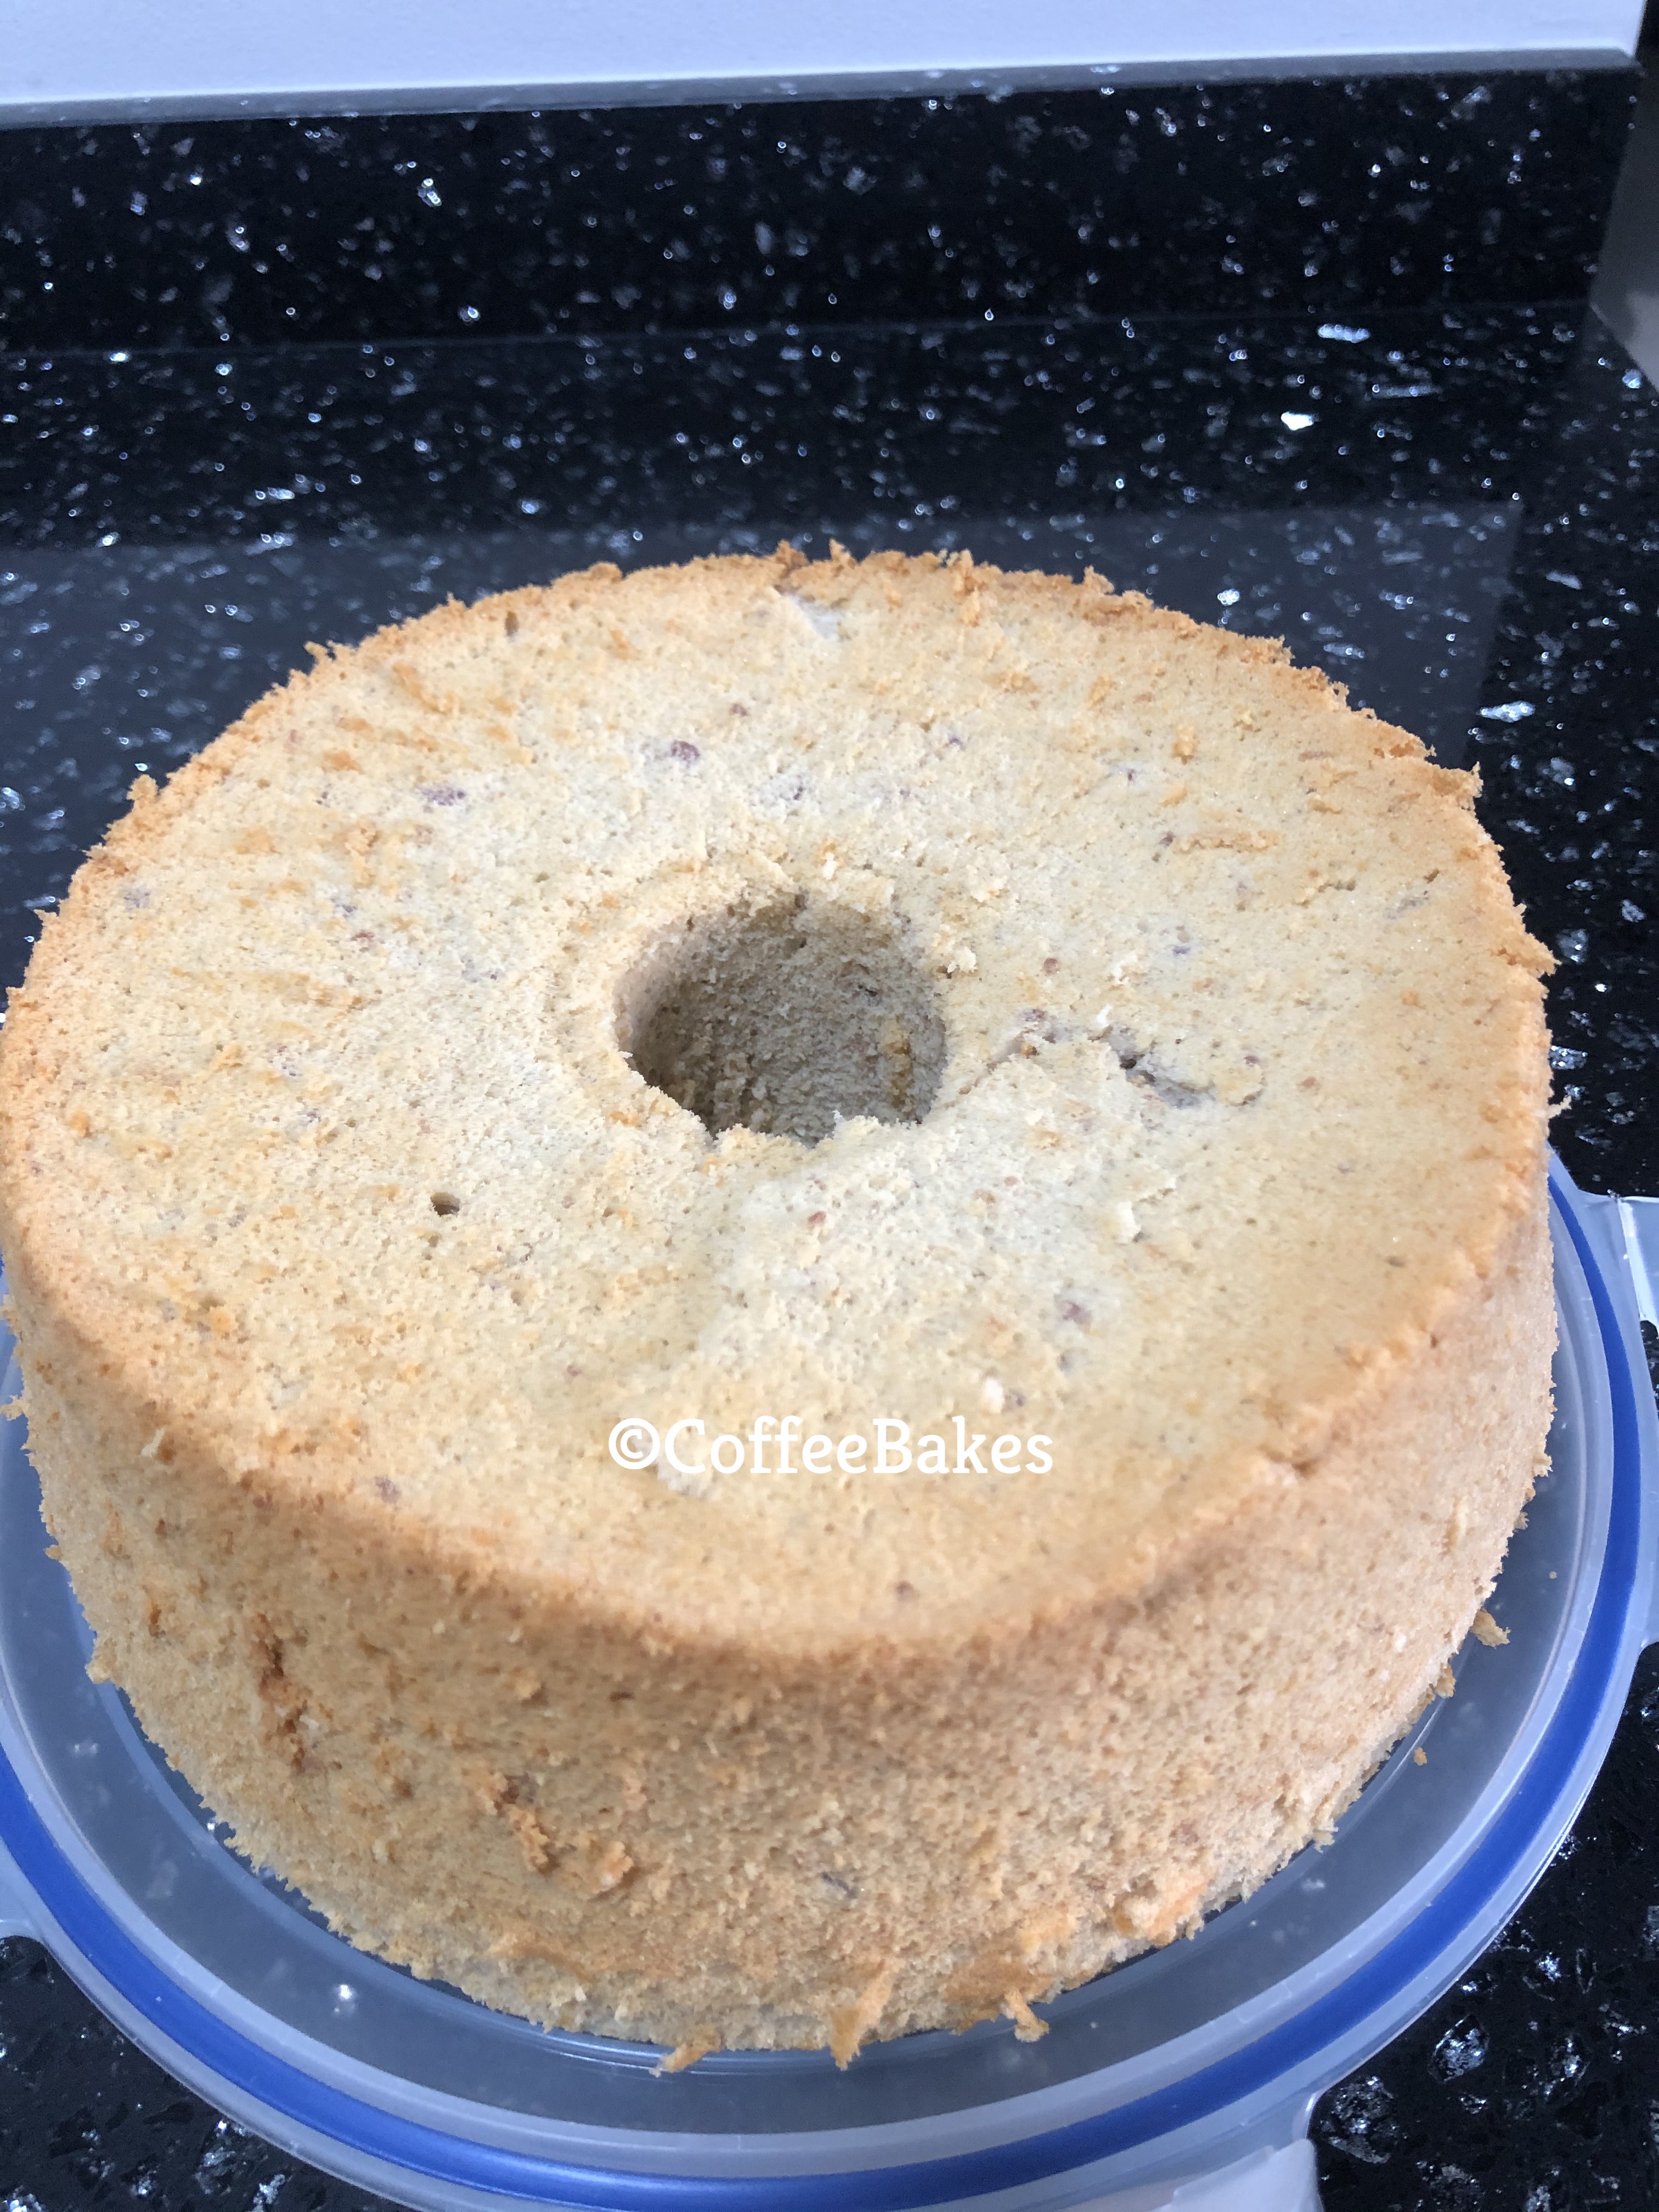
I love the vibrant colour I got this time. The photo on the bottom right is what it looked when I made this years back. Should have been a bit more light and crumbly.

Categories
Cakes

Black Sesame Sponge Cake

I started baking sponge cake way before chiffon as I have heard how technical it can be to bake a chiffon. I seldom succeed in baking a sponge cake with smooth top with no cracks, water bath or not. This remains a challenge to me. I just love the texture and the fine crumbs of this sponge cake.

Ingredients (Recipe credit to Jeannie Tay)
65g cake flour
40g unsweetened black sesame powder
1/8 tsp salt
1/2 tsp baking powder
5 egg yolks
50g oil
80g milk
5 egg whites
80g sugar
1/4 tsp cream of tar tar

Directions
Line the bottom of an 8 inch round pan and grease the sides. Pre-heat the oven to 160d, lowest rack.

Mix the egg yolks, milk, salt and corn oil until blended.

Sift in the flour, baking powder and black sesame powder into the egg yolk mixture and set aside.

In another clean bowl whisk the egg whites with an electric hand whisk till frothy. Add in the cream of tar tar and sugar and continue to whisk till firm peaks.

Add 1/3 of this meringue to the yolk mixture and fold well. Add this back to the balance of the meringue and continue to fold with light strokes till you don’t see any white streaks.

Pour this into the prepared baking tin. Tap the tin a few times to released trap bubble. Bake in a water bath for 70mins or until cook.

Remove water bath and continue to bake at 100d for another 5mins. Remove and unmould the cake as soon as you can. Leave it to cool completely on a rack.

Categories
Cakes

Black Sesame Madeleines

I have never tried any store bought madeleines before. But I was intrigued with the hump behind this cute shell shaped cakes, so I decided to try to bake some. Its not too difficult to make these, but you do need some patience to ensure you get those “humps” as you have to chill the batter for at least 2 hours or overnight.

Ingredients (adapted from cherienoms.com)

85g unsalted butter
2 eggs
35g sugar
10g honey
pinch of salt
75g cake flour
20g unsweeten black sesame powder
1 tsp baking powder

Directions

Melt butter and set aside to cool.

In a medium bowl, add eggs, sugar honey and salt and mix well

Add in the sifted flour, black sesame powder and baking powder and fold till well combined.

Add in the melted butter and mix well. Pour this batter into a piping bag and let it chill in the fridge at least 2 hours or overnight.

When ready to bake, pre-heat the oven to 200d. Grease your madeleine pan well. Fill in pan with the batter to at leas3/4 full.

Bake in the oven for 4mins, then reduce the temperature to 180d to bake another 4mins. (please adjust the temperature if your moulds are smaller) This recipe yield 8 pieces for me. Test with a skewer to ensure they are fully baked.

Allow the madeleines to cool sightly before removing to cool on a rack.

These nutty little treats are pretty yummy and easy to make. Best part is it doesn’t requires much washing and no egg separation or hand whisk required!

Categories
Chiffons

Pulut Hitam Chiffon II

This is a very Asain type of flavour. Using black glutinous rice powder. I have tried to make many versions of this but I did not record down the taste difference. Most call for a mixture of cake flour and black glutinous rice flour. And mostly added a extra egg white. I think it is probably to make the cake softer. I have also tried making one with 100% black glutinous rice flour and the cake texture is kind of denser as in it have more bite than your usual chiffon cake. Today I am baking the version with an extra egg white since I have one egg white to clear after baking sakura cookie last night.

Ingredients
6 egg yolks
60g coconut oil
140g milk
1/2 tsp salt
80g black glutinous rice flour
40g cake flour
7 egg whites
100g castor sugar
1/2 tsp cream of tartar

Directions
In a mixing bowl, mix the egg with coconut oil. Then add in the milk followed by sifted flour. This yolk mixture is quite runny. I think I will reduce the milk portion to 100-110g next time.

In another clean bowl, whisk the egg whites adding sugar in gradually. Add in the cream of tar tar once the egg whites are frothy. Whisk till stiff peaks.

Add 1/3 of the meringue to the yolk mixure and mix well. Pour this back to the meringue mixture and fold well until you don’t see any white streaks.

Bake in a pre-heated over at 170d for 60-75mins until well cooked. Remove from oven and invert it to cool. Unmould the cake once it is cool.

As I am using an extra egg white the resultant cake is quite a tall one. Texture is very soft and fine.

Categories
Cakes

Coffee Roll

Have you tried dalgona coffee? I have also read that the same coffee cream can be used on cake. So I decided to try and see if it works.

Ingredients
Coffee Roll
5 egg yolks (I used 60g)
30g oil
50g milk (heated and dissolved a tablespoon of instant coffee)
20g sugar
80g cake flour
5 egg whites
50g Sugar
1 tsp of coffee emulco
1/4 tsp cream of tar tar

Directions

Line a rectangular baking tin with some grease proof baking paper. I am using a 33cm by 22.5cm pan.

Mix egg yolks, oil, sugar and milk together until well combined.

Add in the vanilla extract and the flour and mix till there is not lumps. Set this aside.

In another bowl, whisk the egg whites until frothy. Add in the cream of tar tar followed by sugar and continue to whisk till you get firm peaks.

Add 1/3 of the meringue to the egg yolk mixture and fold well. Then pour this into meringue bowl and fold lightly until you no longer see any white streaks.

Pour the batter into the prepared tin. Use a scrapper to scrap the top to get a smooth top. Bang the tin a few times on the counter top.

Bake this in a pre-heated oven at 165 degree for about 20-25mins. The top of the cake should be brown and bounce back gently when touched. Remove the cake from oven and let it cool before applying the coffee cream.

Coffee Cream
3 tbsp coffee powder
3 tbsp sugar
3 tbsp hot water

Dissolve the coffee powder with hot water, then add in the sugar whisk till you get a thick foam. Spread the coffee cream onto the cake and roll it up tightly then chill the cake before cutting.

The coffee cream seems to soften and melt, I am not sure if it due to me not whisking sufficiently to stiff peak. The melted cream was sort of absorbed into the cake making it look patchy the next day. Maybe I have to try this again. Also I find the cream tad too bitter for this cake. Might have to increase the amount of sugar next time.

Categories
Cakes

Yam Swiss Roll with Blueberry Jam

I have some dairy cream to clear after making 2 X’massy Swiss roll using the icing tranfers as toppings. So I decided to bake another swiss roll, this time a yam flavoured swiss roll. I will still be referring to the basic swiss roll recipe just slightly tweaked it for a change of flavour.

Ingredients

5 egg yolk (I used 60g)
30g oil
50g milk
20g sugar
80g cake flour
1.5 tsp yam flavouring
5 egg whites
50g Sugar
1/4 tsp cream of tar tar

Filling
some dairy whipping cream
some blueberry jam

Directions

Line a rectangular baking tin with some grease proof baking paper. I am using a 33cm by 22.5cm pan.

Mix egg yolks, oil, sugar and milk together until well combined.

Add in yam extract followed by the sieved flour and mix till there is not lumps.

In another bowl, whisk the egg whites until frothy. Add in the cream of tar tar followed by sugar and continue to whisk till you get firm peaks.

Add 1/3 of the meringue to the egg yolk mixture and fold well. Then pour this into the meringue bowl and fold lightly until you no longer see any white streaks.

Pour the batter into the prepared tin. Use a scrapper to scrap the top to get a smooth top. Bang the tin a few times on the counter top.

Bake this in a pre-heated oven at 160 degree for about 20-25 mins. The top of the cake should be brown and bounce back gently when touched.

Remove from oven once the cake is ready. Drop the tin on the counter top to let out some hot air. Remove the cake from the tin and peel the paper away from the sides. Place a clean piece of baking over the cake. Using a flat board for support, flip over the cake carefully. Peel off the baking paper that is on top.

Roll the cake up gently & not too tightly with the help of the baking paper below. I find it helpful to roll when the cake is still warm.

While waiting for the cake to cool. You can prepare the cream. I sit a small bowl into another bigger bowl of ice cubes and whip the cream in the small bowl. I don’t add sugar to my cream. You may want to add if you prefer the cream sweet. Whisk till the cream is smooth and thick.

Unroll the cake and spread the cream onto the cake. Spread some blueberry jam onto the cream and roll the cake up, this time tightly. Cut off the ends of the roll so that it is neater. Chill the cake so that the cake can set nicely.

Verdict: I do like the purplish hue of this cake, what a lovely colour. However I can’t taste the yam flavour. I think I have to increase the yam flavouring next time.

By the way, did you see the “leaves” on the cake? Aren’t they looking gorgeous! They are actually tuiles! Super easy to make but needs a bit of effort to create the stencil. I learnt this from another online baker. I will share more about it in another post.

Categories
Cakes

Light Fruit Cake with liquor

Fruit cake is a must during this season of the year. But the cake is usually long gone even before Christmas arrive.

You are going to see a series of post of bakes I am baking for this Christmas. Oh by the way I just bought a new Christmas tree and I decorated it simply this year as I was lazy to take out the baubles and all. The dismantling and packing of the tree after the festive is a chore too! After all the feasting and celebration is over… who likes to be stuck with the packing of the tree and decorations. Thankfully my dear sister comes over every year to help me with the work! The snoopy coffee art is done by her.

This year I am trying out another recipe for this fruit cake. I got the recipe from a FB group.

Ingredients (For a 8″ square baking tin)

250g Butter
85g sugar
4 eggs (I used 60g)
240g plain flour sifted
1/2 tsp baking powder
500g mixed dried fruits ( I used jumbo black & golden raisins, cranberries, dried apricots, dried golden berries)

I only soaked some fruits in golden rum thinking that I will bake a small fruit cake. I later changed my mind to bake the full recipe so I had to add fruits that were not macerated.

Directions

Grease and line the baking tin. As I do not have a 8 inch square baking tin, I will be using one slightly smaller with the excess baked in another mould.

Cream the butter with the sugar till pale and light.

Add in the eggs one at a time, beating well after each addition. Fold in the sifted flour and baking powder. Slowly add in the mixed dried fruits and mix well.

Pour the batter in to the prepared tin and use a scrapper to smooth the top of the batter.

Bake in a preheated oven at 150degrees for 1 hour 15mins or until its baked. Test with a skewer to see if it comes out clean.

Remove the cake from the oven and brush the top of the cake with more rum. Let it cool down completely then remove the cake from the tin.

When the cake is completely cooled, wrapped it in a cling wrap followed by another layer of baking paper and seal well. Put this into a airtight box and keep inside the fridge for at least 7 to 10 days to allow the cake to mature. You can continue to feed the cake with rum while it is maturing.

I did not keep the cake that long as I was eager to try the cake. I don’t normally like butter cake chilled as I find it hard. But I do like this flavourful cake though. I wished I had allowed it time to mature and feed it more rum. Yummy.

Categories
Cakes

X’massy Swiss Roll

This is my favourite time of the year… when malls are all decked out in pretty deco and lights. We are fast coming to the end of 2020. A very eventful one for all people. Let’s hope 2021 will bring us more cheers and good news!

Typically I bake more towards the year end. I love to share my bakes and catch up with friends as they are mostly clearing leave this time. Festive mood is the the air! Due to some changes in my personal life, this year end I won’t be able to do much as I hoped. I even pass over the baton of hosting our family’s Christmas Eve dinner to my sister!

I did a little project that has been long on my to do list. I made some royal icing transfers and wanted to use them as cake toppers. Look how cute my snowmen and gingerbread men are! 🙂 I actually can’t pipe the gingerbread man …erm they looked more like ghosts and hey halloween is over ! End up I have to think of a plan B and pipe some bears instead!

See the bears…I absolutely adore them. But gosh… they are so fragile. I broke so many when I try to draw the features.

I am using the basic swiss roll recipe here. For a plain vanilla roll.

Ingredients

5 egg yolks (I used 60g)
30g oil
50g milk
20g sugar
80g cake flour
1 tsp vanilla extract
5 egg whites
50g Sugar
1/4 tsp cream of tar tar

Filling
some dairy whipping cream

Directions

Line a rectangular baking tin with some grease proof baking paper. I am using a 33cm by 22.5cm pan.

Mix egg yolks, oil, sugar and milk together until well combined.

Add in the vanilla extract and the flour and mix till there is not lumps. Set this aside.

In another bowl, whisk the egg whites until frothy. Add in the cream of tar tar followed by sugar and continue to whisk till you get firm peaks.

Add 1/3 of the meringue to the egg yolk mixture and fold well. Then pour this into meringue bowl and fold lightly until you no longer see any white streaks.

Pour the batter into the prepared tin. Use a scrapper to scrap the top to get a smooth top. Bang the tin a few times on the counter top.

Bake this in a pre-heated oven at 165 degree for about 20-25mins. The top of the cake should be brown and bounce back gently when touched.

Remove from oven once the cake is ready. Drop the cake tin on the counter top to release some hot air. Remove the cake from the tin. Peel the paper away from the sides. Place a clean piece of baking paper over the cake, use a cutting board or tray as a support and flip the cover over to the board carefully. Now peel off the baking paper that is on top.

Gently roll the cake up not too tightly with the help of the baking paper below it. I find it helpful to roll when the cake is still warm. The only risk is as the cake cools down the water vapour trapped may cause the skin to be sticky and may stick to the baking paper when you it. This will not happen if you bake the cake well and the skin is dry.

While waiting for the cake to cool. You can prepare the cream.

I sit a small bowl into another bigger bowl filled with ice cubes and whip the cream in the small bowl. I don’t add sugar to my cream. You may want to add if you prefer the cream sweet. Whisk till the cream is smooth and thick.

Unroll the cake and spread the cream onto the cake. Roll the cake again, this time tightly. I put the balance cream into a piping bag fitted with a nozzle and pipe on top of the cake. I added my icing toppers and some colourful sprinklers.

Can you see my gingerbread man melting? I only realised that icing transfers will start to weep when it comes into contact with the oil in cream! Guess this is not a good idea to use them this way.

Categories
Chiffons

Osmanthus Chia Seed Chiffon

This sounds like a very special chiffon flavour, plus the addition of chia seeds. Chia seed is one of the superfoods that has many health benefits. It is touted to be anti-inflammatory and loaded with anti-oxidants. I got the recipe from here, adapted it to bake mine.

Ingredients
120g cake flour (sieved)
3 tbsp chia seeds
6 yolks (I used 55g)
3 tbsp honey
70g canola oil
160g hot water
2 tbsp dried osmanthus flower (I didn’t have enough to double this to 4 tbsp)
70g sugar
6 egg whites
1/4 tsp cream of tar tar

Directions

Boil 200g of water with the 2 tbsp of osmanthus flower. Let it seep for 10mins before you strain and remove the flowers. Take out 160g and set aside to cool.

In a medium boil, add the egg yolks, honey and mix well. Then add in the oil and the osmanthus tea from above. Gradually add in the sieved cake flour and chia seeds. The batter here is very watery. I noticed this recipe has a lot more liquid compared to other chiffon recipes. However as chia seeds are mucilaginous seeds, they absorb liquid and thickened. After a few good stir, the yolk mixture thickens.

Using a electric handheld whisk, whisk the egg whites till frothy, then add 1/2 of the sugar and continue to whisk. Add the balance 1/2 of the sugar and the cream of tar tar. Continue to whisk till the meringue reaches firm peak.

Pour the batter into the chiffon mould ungreased. Tapped the mould on the table gently to release any trapped air. Sprinkle some dried osmanthus flowers on top. Bake in a pre-heated oven at 170degrees for about 60-65mins or until cooked. Overturn the cake to allow it to cool completely before unmoulding.

My cake started to crack after 20mins of baking. However after it cooled down the cracks sort of close up. I got a super tall cake! It is really soft, moist and fluffy. Smells heavenly too. I can’t really taste the osmanthus flavour though. If I had enough for 4 heaped tablespoons, maybe I can get a stronger flavour. I loved the caramelized honey smell in the cake. Hope you will like this too!

Categories
Chiffons

Purple Sweet Potato Chiffon Cake

I came across a nice coloured chiffon cake with purplish hue. Since I have some frozen sweet potato to clear, I decided to make this! My recipe is adapted from here.

Ingredients
5 yolks (60g eggs
1/8 tsp salt
100g milk
95g cake flour
100g steamed mashed purple sweet potato
50g oil ( I had forgotten to add this)
5 egg whites
1/4 tsp cream of tar tar
40g sugar

Directions

Sieve the cake flour and salt. Set aside.

In a mixing bowl mix eat yolks a the purple sweet potato, a bit at a time. Add in the milk and the oil. Followed by the sieved flour. Mix till well combined.

In another clean bowl, whisk the egg whites until frothy. Add some sugar and continue to whisk. Then add in the balance sugar and cream of tar tar and whisk till firm peak.

Add 1/3 of the meringue into the yolk mixture and mix well. Pour this back into the meringue bowl and fold gently until you don’t see any more white streaks.

Pour the batter into the chiffon tin. Tap it a few times. Bake in a pre-heated oven at 170 degrees for 45mins then lower to 150 degrees for another 10mins.

Overturn the cake to allow it to cool. Once completely cool, uumould with a spatula and enjoy!

I only realised I forgot to add the oil when updating this blog. After cutting the cake I found the center of the cake a bit gummy although I had expected the cake to be dry. My cake didn’t turn out to have a nice purplish colour. Probably because I didn’t reduce one yolk. I also read adding lemon juice can help to maintain the vibrant hue of the purple sweet potato. As for the taste.. it’s not as dry as I expected. The cake somewhat shrunk a bit more than I excepted. The taste of the purple sweet potato is actually very mild. At least I didn’t have to bin it! I think the addition of of the sweet potato actually helps the cake to be moist even though I forgotten to add the oil.